
Crypto payments are quickly moving from niche to necessity, especially for apps and platforms serving a global user base. If you’re building with the future in mind, integrating Coinbase X402 embedded wallets can unlock seamless, secure crypto transactions right inside your app. Whether you’re monetizing an API, launching a web3 dApp, or bringing onchain payment solutions to e-commerce, X402’s HTTP-native protocol is engineered for developer agility and user trust.

Why Coinbase X402 Embedded Wallets Are a Game-Changer
X402 isn’t just another payment gateway. It’s an open protocol that lets apps request and receive stablecoin payments directly over HTTP, no legacy rails and no clunky user experience. With CDP Embedded Wallets, you can offer users smart accounts that handle everything from gas sponsorship for crypto payments to native onramp integration. The result? Frictionless onboarding, instant payment intents, and robust security baked in by design.
Here’s what sets Coinbase X402 apart:
- Onchain payment solutions: Accept USDC or other supported assets directly into your EVM-compatible wallet.
- No third-party intermediaries: Payments flow straight from buyer to seller using HTTP requests.
- Developer-friendly SDKs: Quickstart guides and middleware packages for Node. js, Python, React, and more.
- Gas sponsorship and smart accounts: Lower the barrier for new crypto users by covering network fees automatically.
Setting Up Your App: Prerequisites for Integration
If you’re ready to enable real-time crypto payment intents in your app, start with these essentials:
- EVM-Compatible Wallet: Such as CDP Wallet (Coinbase Developer Platform) to receive funds securely.
- Development Environment: Node. js and npm (for JavaScript/TypeScript), or Python with pip if you prefer Python backends.
- An Existing Application: An API server or web app where you want to embed crypto payments using x402.
If you haven’t yet set up a compatible wallet, check out the official guide on CDP Embedded Wallets. Make sure your wallet is funded with USDC on the Base mainnet or testnet before proceeding.
A Step-by-Step Guide: Integrating X402 Payment Middleware
The magic of x402 is its simplicity. Here’s how to add secure crypto payments into your application in minutes, not weeks. For this walkthrough, we’ll focus on Node. js using Express middleware (but Python devs can follow along via the official Quickstart for Sellers):
Install x402-Express Middleware & Protect Payment Routes

1. Install Dependencies
npm install x402-expressThis pulls in everything needed to support x402 HTTP payment flows in your Express app.
2. Configure Payment Middleware
import express from "express"; import { paymentMiddleware } from "x402-express"; const app = express(); app. use(paymentMiddleware( "0xYourWalletAddress", //Your receiving wallet address { "GET/api/protected": { price: "$0.01", //Price in USD - use exactly $0.01 as per latest context network: "base-sepolia", }, }, { url: "https://x402.org/facilitator", //Facilitator URL for testnet } )); This snippet protects the route /api/protected. When accessed without valid payment proof, it returns a 402 Payment Required, prompting the user (or AI agent) to pay exactly $0.01.
3. Test Your Integration
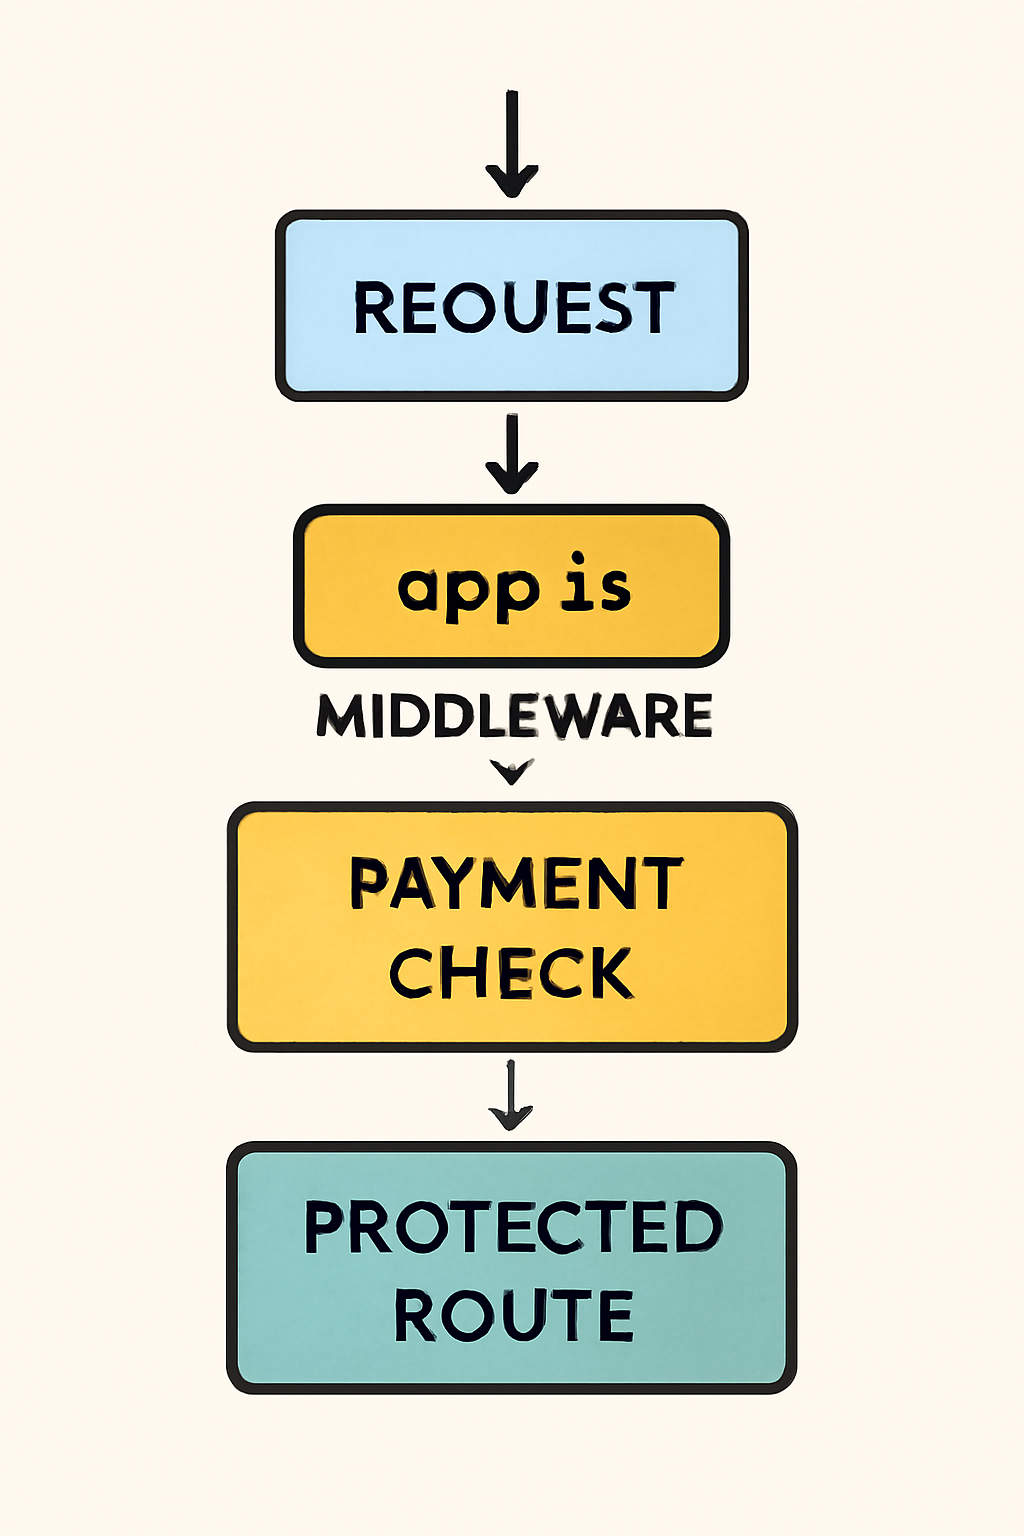
Once your middleware is in place, it’s time to see it in action. When a client requests the protected endpoint, your server will reply with a 402 Payment Required status and payment instructions. The user (or their wallet) completes the payment using any compatible client, such as Coinbase Wallet or a custom dApp browser. After the payment is made, the client retries the request with the X-PAYMENT header containing proof of payment.
Example: Accessing an x402-Protected Route via HTTP
Here's how you can make an authenticated HTTP request to an x402-protected route using JavaScript's `fetch` API. This example demonstrates sending your x402 token in the `Authorization` header and handling the response.
// Example: Making an authenticated request to an x402-protected endpoint using fetch

const endpoint = 'https://api.yourapp.com/x402/protected-resource';
const x402Token = 'eyJhbGciOiJIUzI1NiIsInR5cCI6IkpXVCJ9...'; // Replace with actual token

fetch(endpoint, {
  method: 'GET',
  headers: {
    'Authorization': `Bearer ${x402Token}`,
    'Content-Type': 'application/json'
  }
})
  .then(response => {
    if (!response.ok) {
      throw new Error('Network response was not ok');
    }
    return response.json();
  })
  .then(data => {
    console.log('Protected resource data:', data);
  })
  .catch(error => {
    console.error('Error accessing x402-protected route:', error);
  });
Remember to replace the `x402Token` with the actual token you receive after authenticating with Coinbase's embedded wallet. This pattern is common for securely accessing protected resources in your app.
This workflow is designed for both human users and automated agents, think AI models or bots that need to pay for API access on demand. The protocol’s flexibility makes it ideal for monetizing digital content, APIs, SaaS features, or even microservices.
Moving from Testnet to Mainnet: Best Practices
After successfully testing your integration on Base Sepolia (testnet), you’re ready to go live with real payments. Transitioning to mainnet involves updating your facilitator URL and ensuring your production wallet is secured and monitored. Follow the Running on Mainnet guide for detailed instructions and compliance checks.
- Audit all endpoints: Double-check which routes are protected and that pricing matches your business model.
- Monitor wallet activity: Use analytics tools or webhook notifications to track incoming payments in real-time.
- Stay up-to-date: Keep an eye on protocol updates from Coinbase Developer Platform for new features or security enhancements.
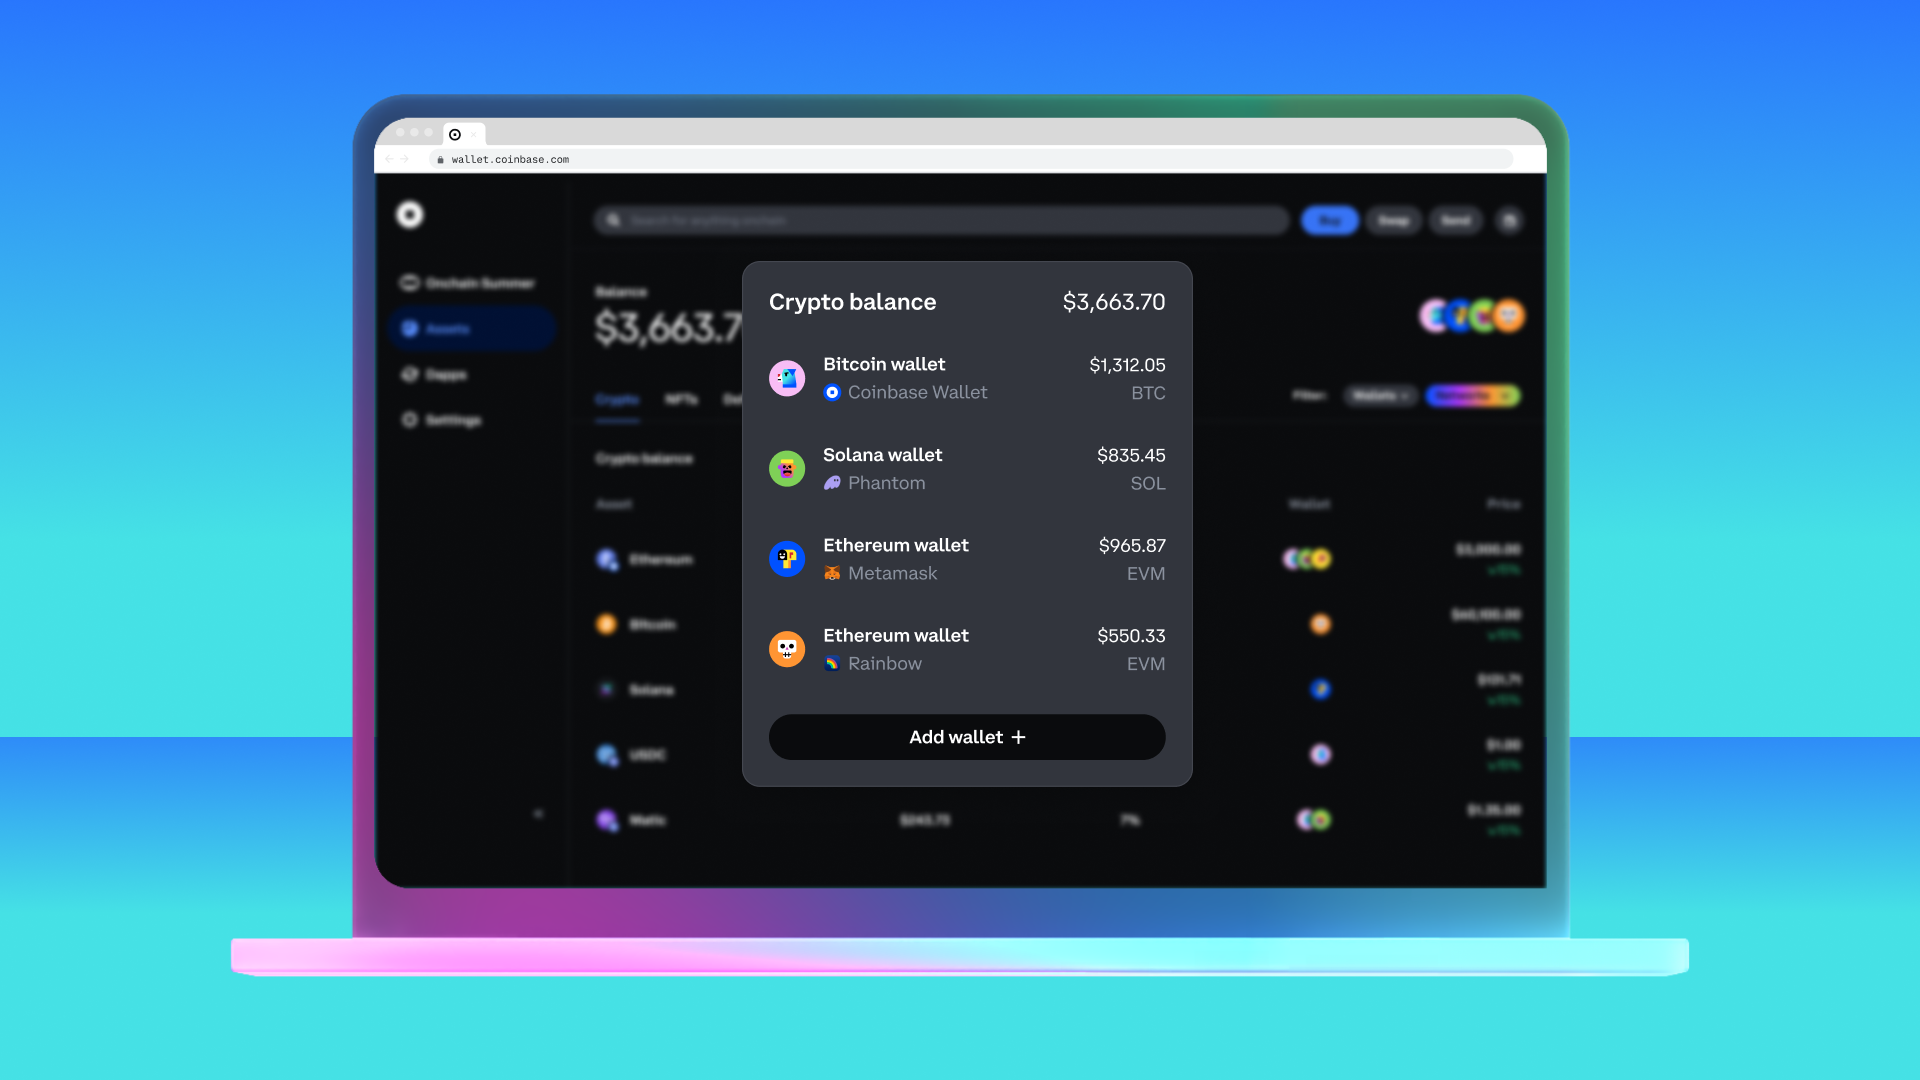
Enhancing User Experience With Embedded Wallets
The real magic happens when you pair x402 payments with CDP Embedded Wallets. These smart accounts enable native onboarding, users can create wallets right inside your app without ever leaving your UI. Gas sponsorship means they don’t need ETH or other tokens to pay network fees; you can cover those costs automatically, smoothing out friction at every step.
Key Benefits of Coinbase X402 Embedded Wallets
- Frictionless User Onboarding: Coinbase Embedded Wallets let users create and access wallets directly within your app, eliminating the need for third-party wallet downloads or complex setup processes.
- Seamless Crypto Payments: The x402 protocol enables instant, HTTP-native payments using stablecoins like USDC, allowing users to pay for services or content without leaving your application.
- Enhanced Security: Private keys are managed securely within the Coinbase Developer Platform, reducing the risk of user error or exposure to phishing attacks.
- Developer-Friendly Integration: With SDKs and middleware for popular frameworks like React and Express, adding embedded wallets and x402 payments requires just a few lines of code.
- Instant Monetization for APIs & Services: x402 lets developers charge micro- and macro-payments (e.g., $0.01 per API call) directly, unlocking new revenue streams without traditional payment gateways.
- Stablecoin Support on Base Network: Users transact with USDC on the Base mainnet, ensuring fast, low-cost, and stable payments with blockchain transparency.
This combination unlocks powerful use cases: one-click paid content access, seamless API monetization for AI/ML agents, or even recurring subscription models, all powered by stablecoin transactions over HTTP.
Troubleshooting and Community Resources
If you run into issues during integration, such as unexpected errors, payment verification hiccups, or wallet compatibility questions, the Coinbase developer community is active and responsive. Consult the official docs for troubleshooting tips or reach out directly via their support channels. For quick answers to common setup problems, see below:
The Future of Crypto Payments Is Here
The days of clunky checkout flows and opaque payment rails are numbered. With Coinbase X402 embedded wallets integration, you’re not just keeping up, you’re leading the charge toward internet-native commerce where crypto payments are as easy as sending an HTTP request. Whether you’re building decentralized apps or modern web platforms, this toolkit gives you everything needed to deliver secure crypto payments at scale.


No comments yet. Be the first to share your thoughts!