In 2025, the agent economy is rapidly maturing, and X402 Payment Intents have become the backbone of autonomous AI agent transactions. Whether you’re building decentralized swarms, pay-per-use APIs, or intelligent e-commerce bots, integrating X402 unlocks seamless, programmable payments using stablecoins like USDC on fast blockchains such as Solana and Polygon. This guide demystifies the X402 integration process for developers aiming to empower their AI agents with real-time, secure, and fully autonomous payment capabilities.
Why X402? The HTTP-Native Payment Revolution
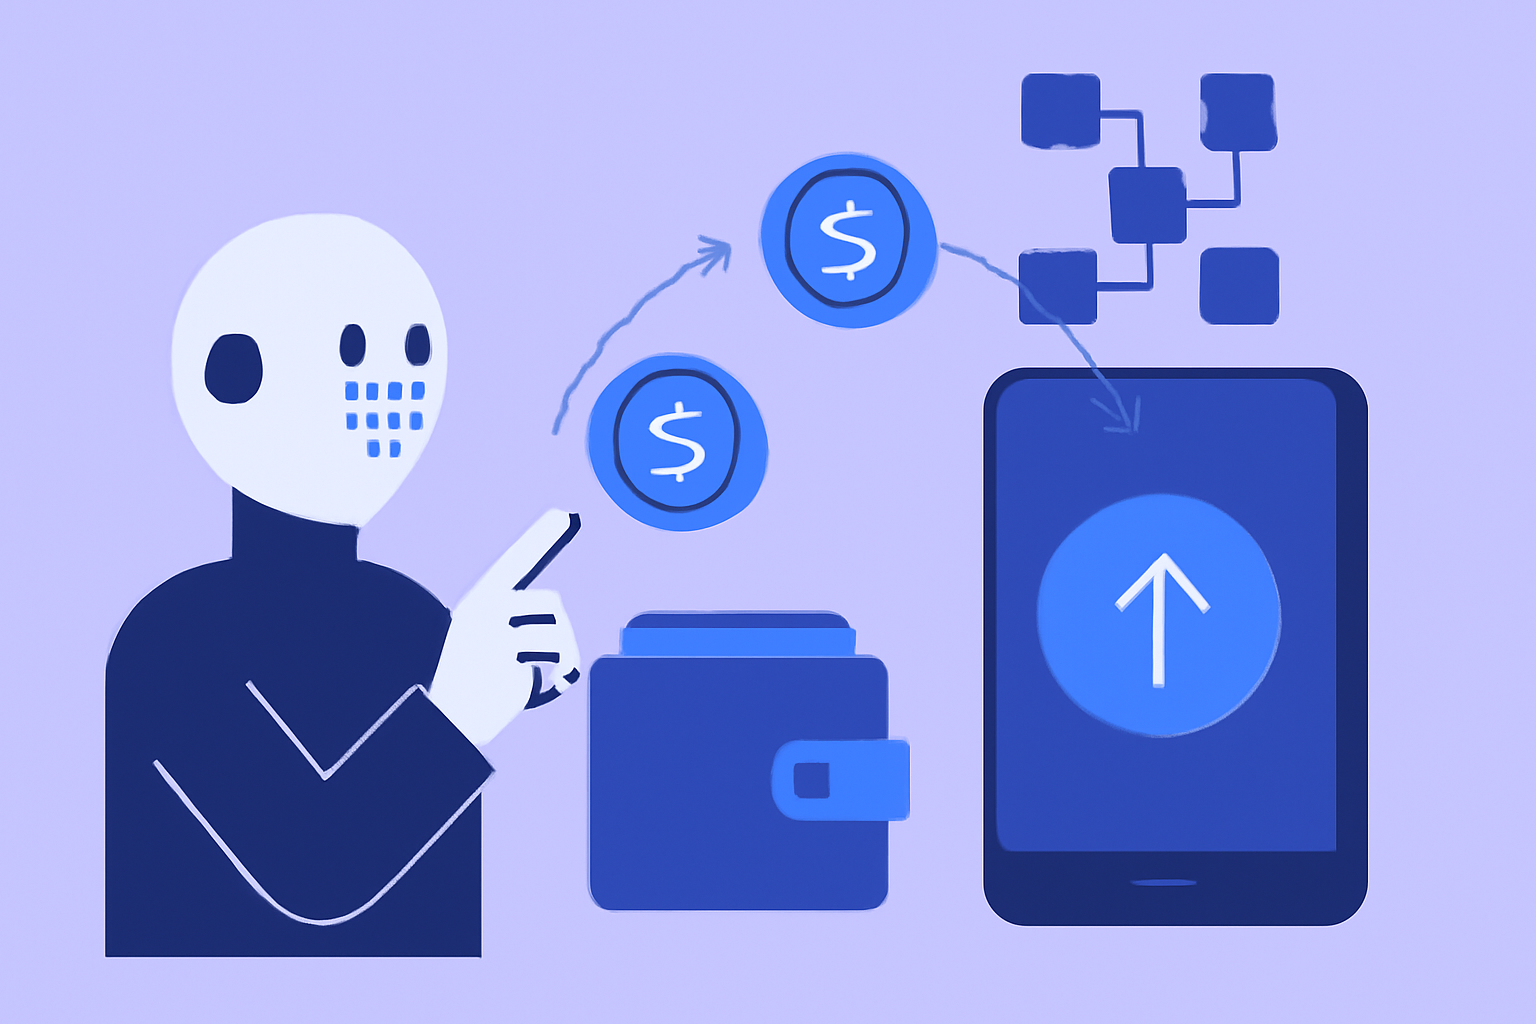
The promise of X402 lies in its simplicity and power: it revives the classic HTTP 402 “Payment Required” status code for the age of machine-native commerce. When an agent requests a resource or API endpoint, a 402 response returns standardized payment instructions, no more proprietary billing APIs or manual key management. Instead, agents pay directly onchain using stablecoins like USDC, unlocking resources instantly upon settlement. This approach is not only frictionless but also highly secure and programmable, ideal for the next generation of autonomous systems.
Key advantages include:
- Interoperability: Works across multiple blockchains (Solana, Polygon) and is compatible with major wallets.
- Security: Utilizes cryptographic signatures (EIP-712), spending limits, and verifiable agent identities.
- No API Keys Required: Agents interact using open standards without centralized credential storage.
X402 Integration Workflow: Step-by-Step Breakdown
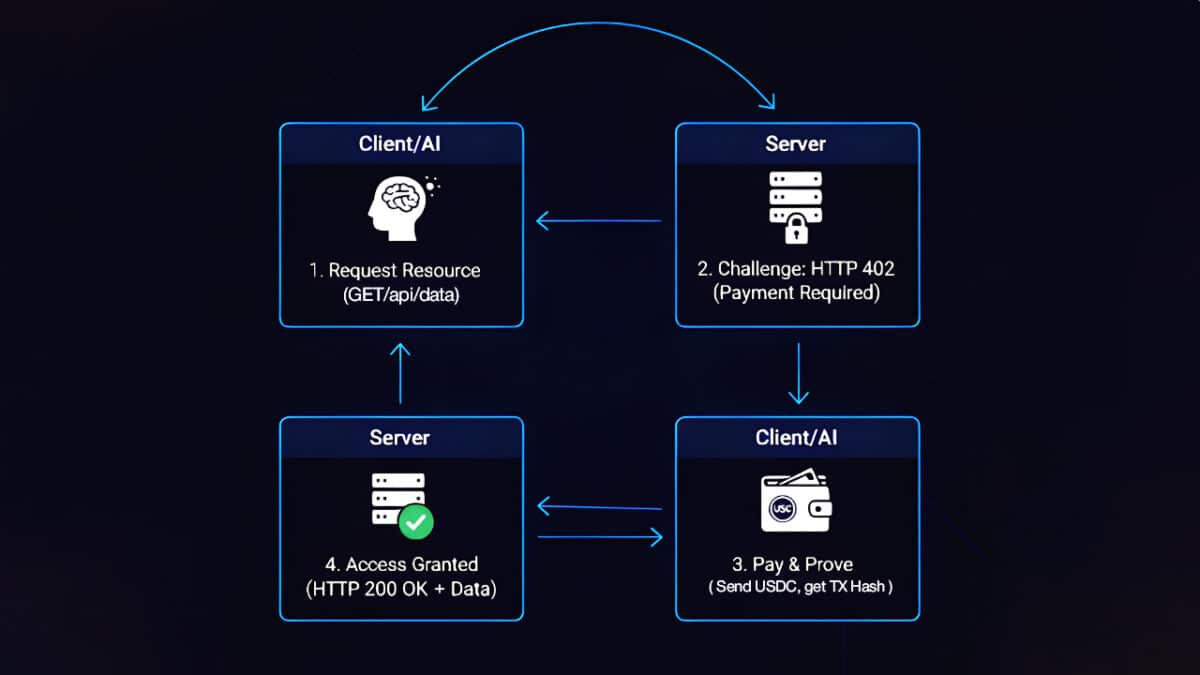
The core integration process can be distilled into four systematic steps. Let’s walk through each one so you can confidently architect your own agent payment flows:
Integrating x402 Payment Intents: A Visual Step-by-Step Guide

1. Agent Wallet Setup
Your AI agent needs a blockchain wallet capable of holding and transacting stablecoins like USDC. For Solana-based workflows, leverage libraries such as @solana/web3. js; for Polygon (or other EVM chains), use ethers. js or web3. js. Be sure to fund your agent’s wallet with enough USDC to cover anticipated usage, this is essential for uninterrupted autonomous operation.
- Solana Example: Create a new keypair using @solana/web3. js; fund with USDC SPL tokens.
- Polygon Example: Generate an account with ethers. js; transfer ERC-20 USDC to it.
If you need a detailed walkthrough on wallet creation or funding strategies for agents operating on these blockchains, see our dedicated guide: Integrate X402 Payment Intents for Real-Time AI Agent Transactions on Polygon and Solana.
2. Handling HTTP 402 Responses and Parsing Payment Details
The magic of X402 comes alive when your agent makes an HTTP request to a protected resource. If payment is required, the server responds with status code 402 alongside machine-readable payment instructions, typically specifying:
- The amount due (e. g. , “0.50 USDC”)
- The accepted token(s) (e. g. , “USDC”)
- The recipient address or facilitator contract details
Your agent must parse this payload efficiently to extract all necessary parameters for initiating the transaction. This step is critical for interoperability across different service providers leveraging the protocol.
Paving the Way for Autonomous Micropayments in the Agent Economy
X402’s open standard turns every HTTP endpoint into a potential revenue stream, no human-in-the-loop required. As more services adopt this model (from data APIs to compute marketplaces), developers can orchestrate complex chains of value exchange between agents in real time. The result? A fundamentally new paradigm where intelligent software pays its own way without friction or risk of abuse.
Once your agent has parsed the payment instructions, it’s time to complete the transaction. This is where the X402 protocol’s real-time, onchain settlement shines. Your agent constructs a blockchain transaction according to the received parameters, matching the exact amount, token type (like USDC), and recipient address or contract. On Solana, this typically involves crafting a SPL token transfer; on Polygon, an ERC-20 transfer via ethers. js or web3. js. The transaction must then be signed using your agent’s secure wallet credentials.
Sending a USDC Payment from an AI Agent Wallet
After your AI agent parses the HTTP 402 response and extracts the payment details, use the following Python code to send a USDC payment using the Web3 library. This example assumes you have the recipient address and amount from the 402 response.
import requests
from web3 import Web3

# Example values from parsed HTTP 402 response
payment_address = "0xRecipientAddressHere"
payment_amount = 10 * 10**6  # 10 USDC, USDC has 6 decimals
usdc_contract_address = "0xA0b86991c6218b36c1d19D4a2e9Eb0cE3606eB48"  # Mainnet USDC

# Your AI agent's Ethereum wallet
private_key = "0xYOUR_PRIVATE_KEY"
wallet_address = "0xYOUR_WALLET_ADDRESS"

# Connect to Ethereum node (e.g., Infura)
w3 = Web3(Web3.HTTPProvider('https://mainnet.infura.io/v3/YOUR_INFURA_PROJECT_ID'))

# USDC ABI (transfer function only)
usdc_abi = [
    {
        "constant": False,
        "inputs": [
            {"name": "_to", "type": "address"},
            {"name": "_value", "type": "uint256"}
        ],
        "name": "transfer",
        "outputs": [{"name": "", "type": "bool"}],
        "type": "function"
    }
]

usdc = w3.eth.contract(address=usdc_contract_address, abi=usdc_abi)

# Build transaction
tx = usdc.functions.transfer(payment_address, payment_amount).build_transaction({
    'from': wallet_address,
    'nonce': w3.eth.get_transaction_count(wallet_address),
    'gas': 100000,
    'gasPrice': w3.to_wei('20', 'gwei')
})

# Sign and send transaction
signed_tx = w3.eth.account.sign_transaction(tx, private_key=private_key)
tx_hash = w3.eth.send_raw_transaction(signed_tx.rawTransaction)
print(f"USDC payment sent! Transaction hash: {tx_hash.hex()}")
Make sure to replace the placeholder values with your actual private key, wallet address, and Infura project ID. Always store private keys securely and never commit them to source control.
After broadcasting the transaction to the blockchain, your agent should monitor for confirmation. Once settled, the service provider will verify payment, often automatically via webhook or polling, and grant access to the requested resource. This seamless handoff is what enables true machine-to-machine commerce at internet speed and scale.
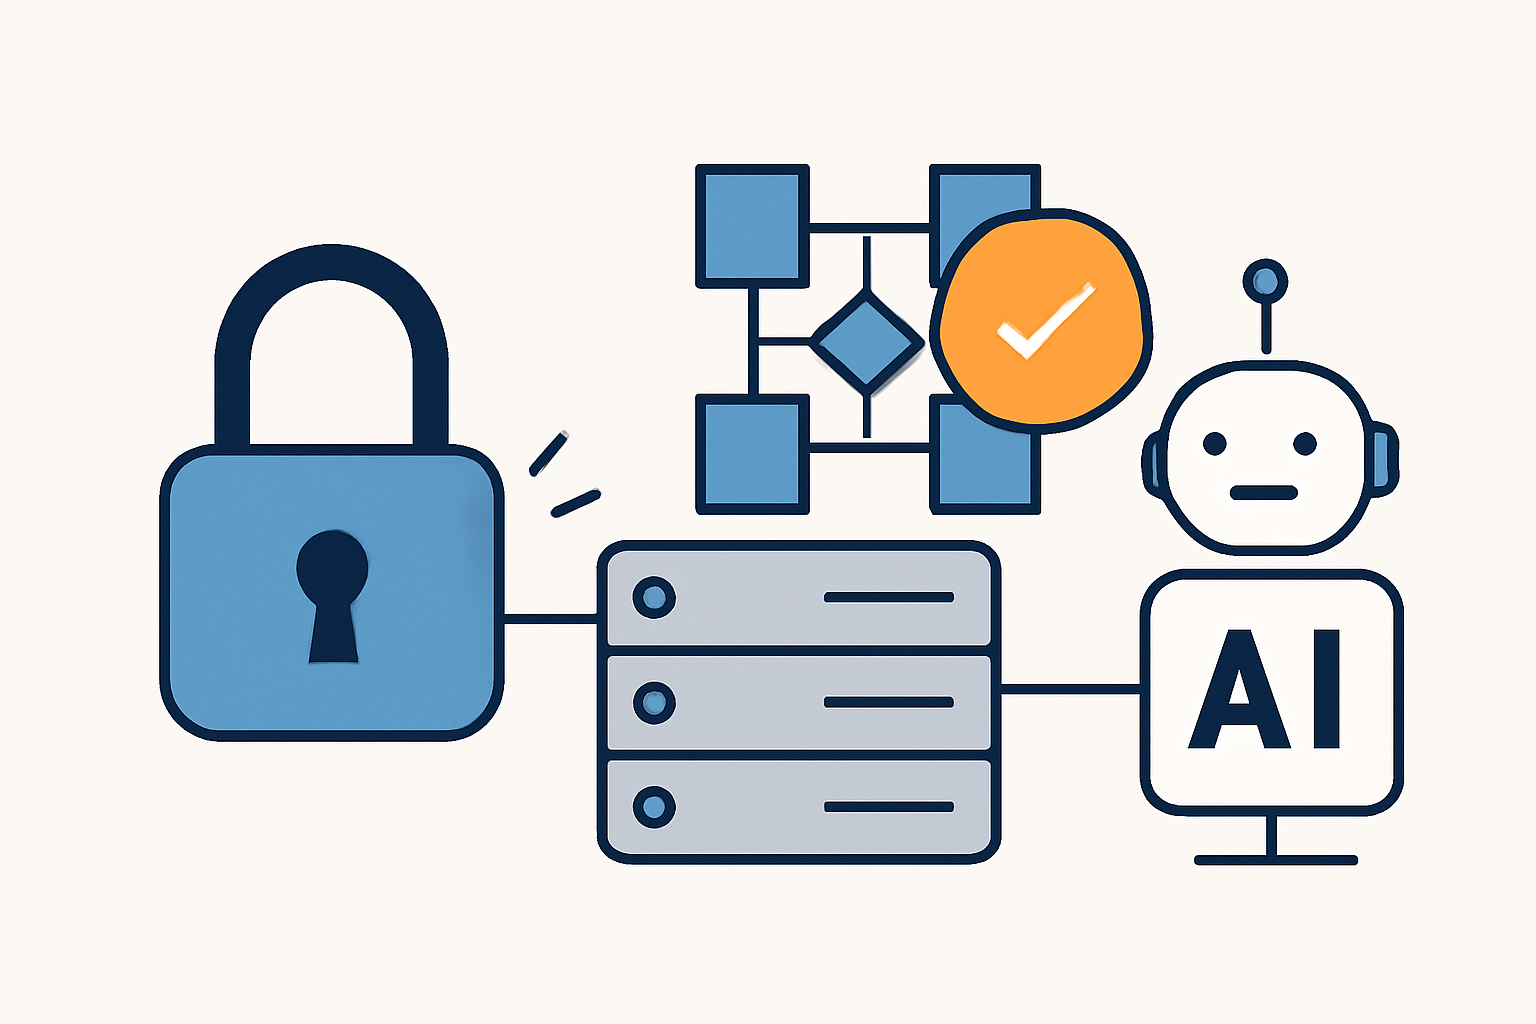
Security and Identity: Best Practices for Autonomous Agents
With great autonomy comes great responsibility. Ensuring your agents transact securely is non-negotiable in production environments. Leverage EIP-712 signatures for tamper-proof transaction payloads and set prudent spending limits to minimize risk from compromised keys or buggy logic. For added assurance, frameworks like Agent Passport allow you to embed verifiable cryptographic identities into every transaction, enabling programmable governance and trust between counterparties.
- EIP-712 Signatures: Protect against replay attacks and unauthorized transactions.
- Spending Limits: Prevent runaway costs by capping per-transaction or daily spend.
- Agent Passports: Attach identity proofs and compliance metadata to each agent wallet.
If you’re building for regulated sectors or require advanced compliance (e. g. , AML screening), consider integrating third-party middleware that provides real-time monitoring of onchain payments before resource access is granted.
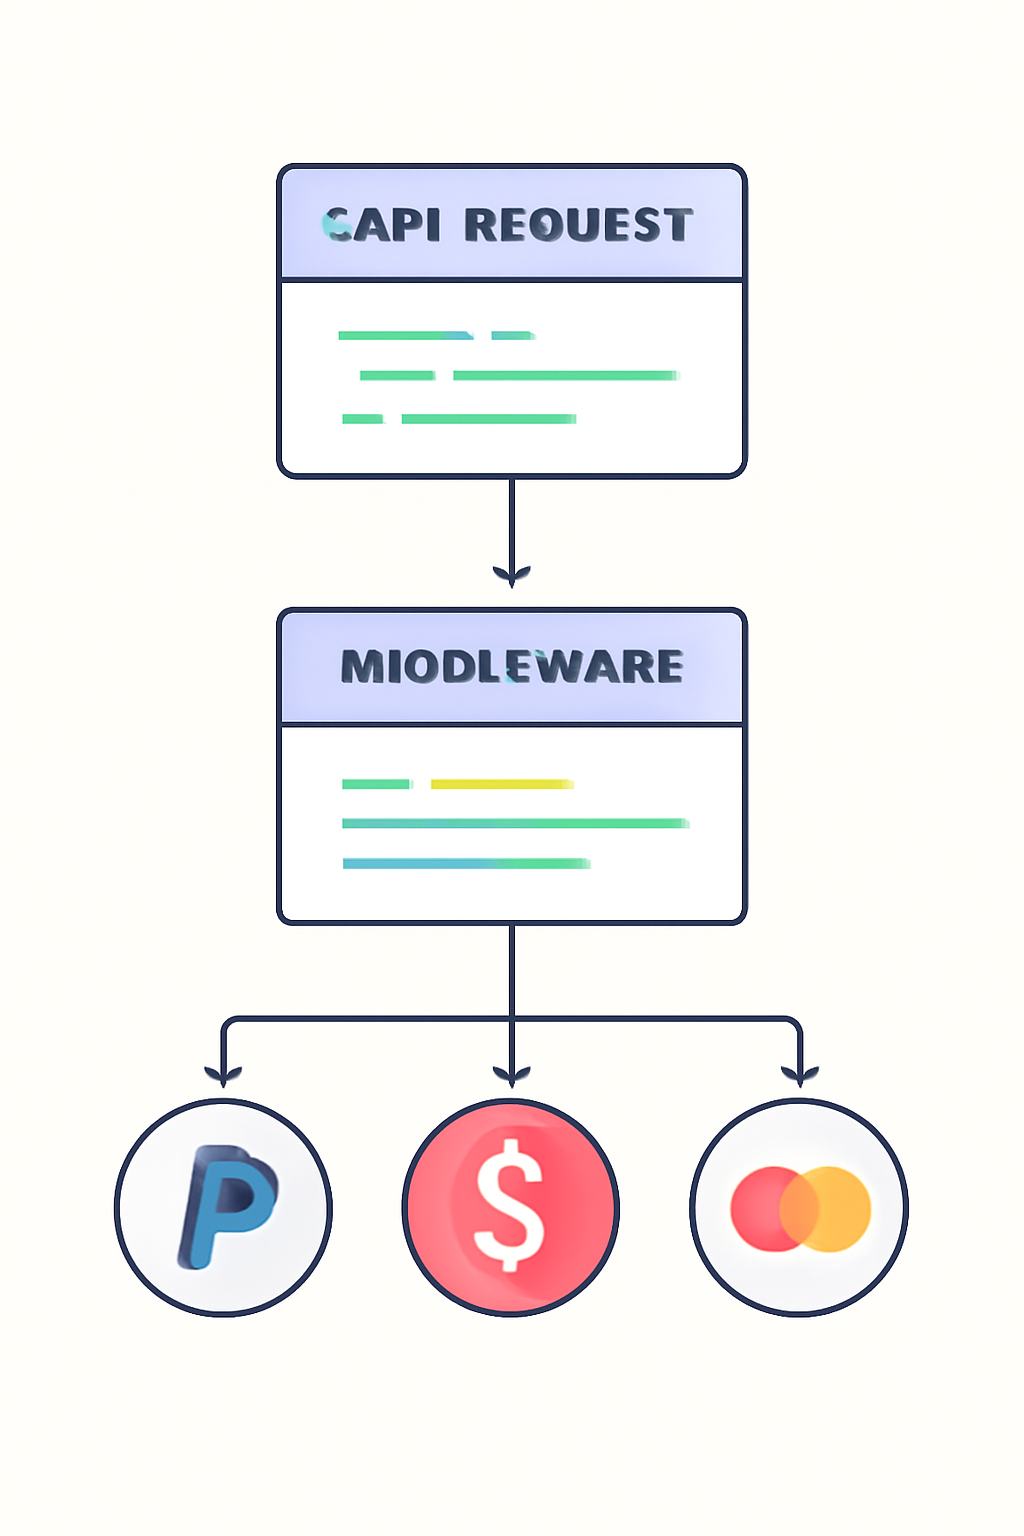
Optimizing API Monetization with Middleware
X402 doesn’t just empower agents, it streamlines monetization for API providers too. By integrating X402-compatible middleware into your backend stack, you can automate payment handling without cluttering business logic with complex crypto code. Providers simply define pricing rules per endpoint; middleware handles detection of HTTP 402 flows, payment verification on-chain, and dynamic unlocking of resources post-payment.
This approach dramatically reduces operational overhead while opening up new revenue channels from autonomous consumers, whether they’re single-purpose bots or complex multi-agent swarms conducting microtransactions around the clock.
Real-World Use Cases: The Agent Economy in Action
The impact of X402 is already visible across domains:
- Data Marketplaces: Agents purchase datasets in real time without human approval cycles.
- SaaS APIs: Developers monetize endpoints with pay-per-use billing in stablecoins, no account registration required.
- Swarms and Collectives: Multiple agents coordinate compute or data purchases autonomously using pooled wallets and programmable governance controls.
The flexibility of X402 means it’s equally suited for high-frequency micropayments (think $0.01 data queries) as well as larger value transfers between trusted AI entities, all underpinned by open standards and composable blockchain infrastructure.
Next Steps: Building Your Own Agentic Payment Flows
If you’re ready to architect your own solution, begin by reviewing our comprehensive technical guides on integrating X402 Payment Intents with leading blockchains:
- How to Integrate X402 Payment Intents for AI Agent Micropayments with USDC
- Integrate X402 Payment Intents for Real-Time AI Agent Transactions on Polygon and Solana
The future of digital commerce is autonomous, programmable, and borderless, X402 gives you the building blocks to participate from day one. Whether you’re a solo developer experimenting with new business models or an enterprise architecting large-scale agent networks, now is the time to integrate these powerful primitives into your stack.


No comments yet. Be the first to share your thoughts!