
Global commerce is moving toward instant, borderless transactions, and the rise of stablecoins like USDC has made low-fee crypto payments a practical reality for sellers and developers worldwide. Coinbase’s x402 Payment Intents protocol is at the heart of this evolution, providing a seamless way to accept cryptocurrency via the HTTP Payment Protocol. If you want to integrate global crypto checkout with minimal overhead and robust security, x402 unlocks that potential, no blockchain infrastructure required.

Why Choose Coinbase X402 for Low-Fee Crypto Payments?
Traditional payment rails are slow, expensive, and geographically fragmented. In contrast, x402 leverages the HTTP 402 “Payment Required” status code, allowing any API or web service to request payment in real time. The protocol supports stablecoins such as USDC for instant settlement with fees orders of magnitude lower than legacy systems.
The core advantages include:
- Chain-agnostic payments: Accept payments across multiple blockchains without custom integrations.
- No infrastructure burden: The x402 Facilitator handles payment verification and settlement, so you don’t need to run blockchain nodes or manage on-chain logic.
- Autonomous agent support: x402 is designed for both human users and AI agents, enabling dynamic paywalls, API monetization, and more.
If you’re building a SaaS platform, digital content paywall, or decentralized application, integrating x402 means your users can pay instantly from anywhere with just their wallet credentials. For a deeper dive into use cases and demos, see the official Coinbase x402 launch page.
Step-by-Step: Integrating Coinbase X402 Payment Intents
The integration process is straightforward but precise. Here’s how to get started:
Integrate Coinbase x402 Payment Intents in Node.js or Python
1. Install Dependencies
Select your language stack, Node. js or Python are both supported, and install the appropriate client package:
- Node. js (Fetch API):
Install the x402-fetch Package
To begin integrating Coinbase X402 Payment Intents, you first need to install the official client library. Use the following command to add the `x402-fetch` package to your project:
npm install x402-fetchThis command will add `x402-fetch` to your project's dependencies, enabling you to interact with the X402 API in your JavaScript or TypeScript code.
- Node. js (Axios):
Install the x402-axios Package
To begin integrating Coinbase X402 Payment Intents, you must first install the required npm package. This package provides an Axios-based client for interacting with the X402 API.
npm install x402-axiosOnce the installation is complete, you can import and use the x402-axios client in your JavaScript or Node.js project to interact with Coinbase's X402 endpoints.
- Python:
Install the x402 Python Package
To begin integrating Coinbase X402 Payment Intents, you first need to install the `x402` Python package. Use the following command in your terminal:
pip install x402This command will download and install the latest version of the `x402` package from PyPI, making its functionality available for your project.
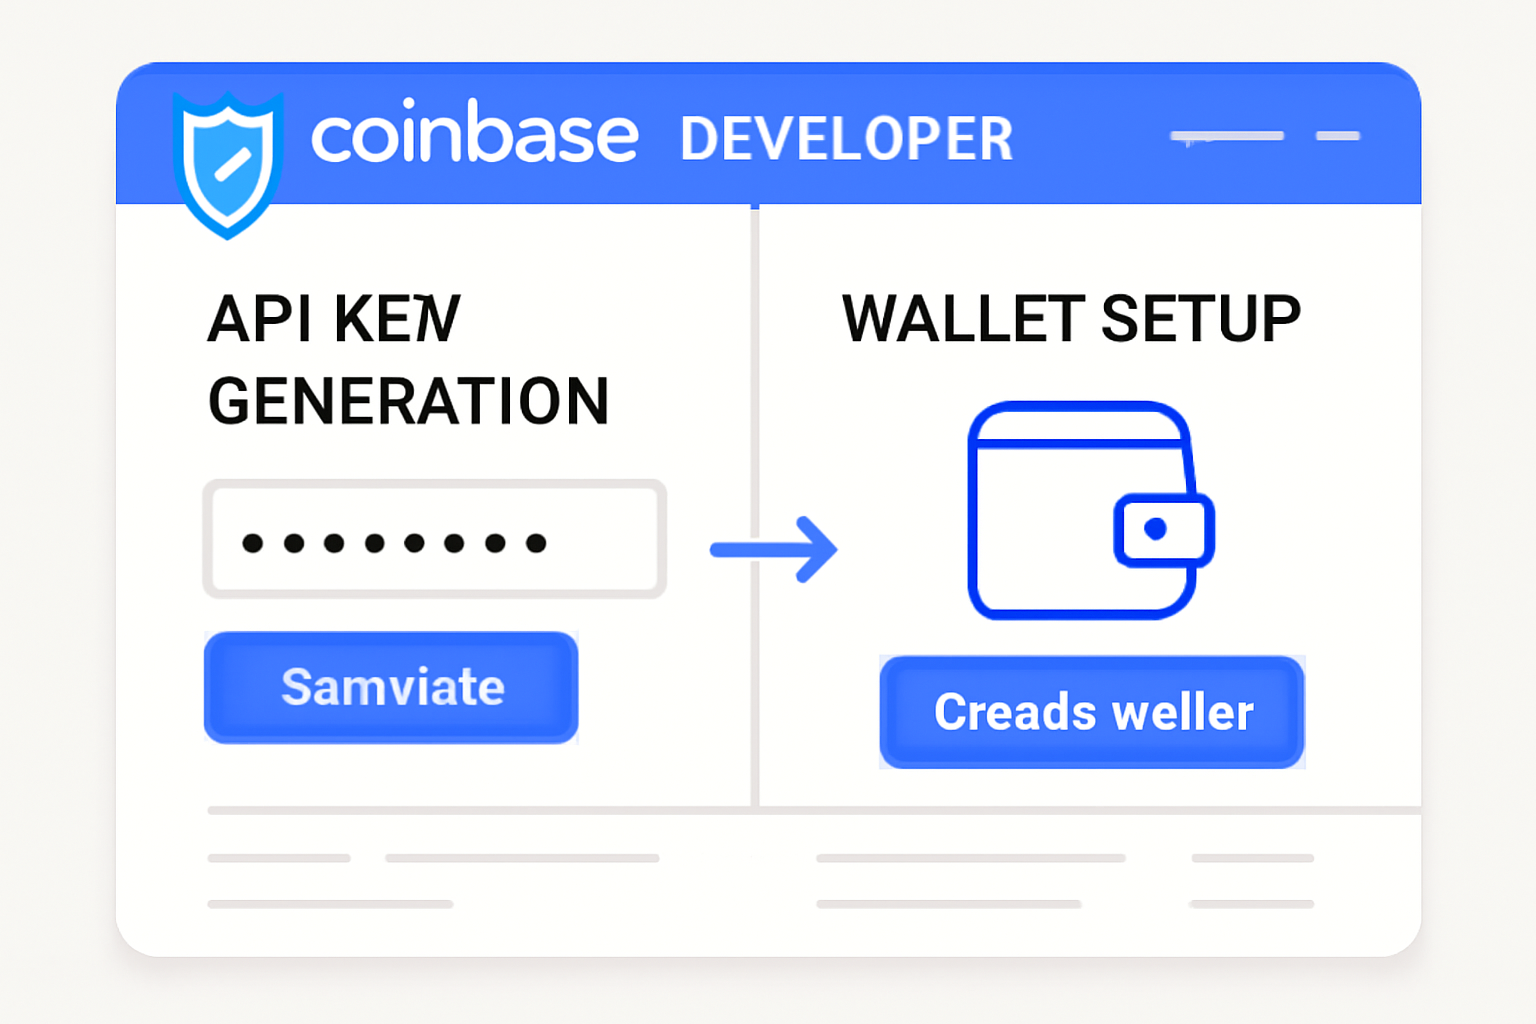
2. Set Up Your Wallet Client Securely
Create an account at the Coinbase Developer Platform (CDP) to provision your server wallet. This wallet will sign transactions programmatically on behalf of your service.
Your credentials should be stored securely as environment variables:
Set Coinbase X402 API Credentials as Environment Variables
Before you can interact with the Coinbase X402 API, you need to set your API credentials as environment variables. This ensures your sensitive keys are not hardcoded into your scripts.
export CDP_API_KEY_ID=your-api-key-id
export CDP_API_KEY_SECRET=your-api-key-secret
export CDP_WALLET_SECRET=your-wallet-secret
Replace the placeholder values with your actual API key ID, secret, and wallet secret. These environment variables will be accessible to your application for secure authentication.
The Payment Flow: Handling HTTP 402 Responses Programmatically
x402 transforms standard HTTP requests into payment-enabled flows. When an endpoint requires payment, it returns a HTTP 402 Payment Required. Your client then completes the transaction using their wallet client before retrying the request with proof of payment attached.
This flow guarantees atomicity, either payment is accepted and access granted instantly, or nothing happens at all. Here’s how you might implement this in Node. js using Fetch:
Integrating X402 Payment Intents with Fetch Requests
To integrate Coinbase X402 Payment Intents with your existing fetch requests, you can use the `wrapFetchWithPayment` function from the `x402-fetch` library. This allows you to seamlessly attach payment requirements to your API calls. Below is a precise example of how to wrap a fetch call with payment intent handling:
import { wrapFetchWithPayment } from "x402-fetch";

// Assume 'account' is your initialized X402 payment account object
const fetchWithPayment = wrapFetchWithPayment(fetch, account);

fetchWithPayment(url, { method: "GET" })
  .then(async (response) => {
    const body = await response.json();
    console.log(body);
  })
  .catch((error) => {
    console.error(error);
  });
This approach ensures that every fetch request made with `fetchWithPayment` will prompt for payment as required by the X402 protocol, and will handle the response or any errors accordingly.
The same logic applies in Python using the official package:
Initializing an X402 Session and Making a GET Request
To initiate a session with Coinbase X402 and perform a GET request to the desired API endpoint, use the following Python code. This demonstrates how to authenticate and retrieve data using your wallet credentials:
import requests
from x402 import X402Session

# Replace 'your_wallet' with your actual wallet object or credentials
session = X402Session(wallet=your_wallet)

# Replace 'url' with the API endpoint you want to interact with
response = session.get(url)

# Print the JSON response from the API
print(response.json())
Ensure that you have installed the necessary packages (`requests` and `x402`) and have properly configured your wallet credentials before running this code.
After implementing the payment flow, your next priority is robust testing. The x402 protocol is designed for reliability, but verifying each stage of the transaction lifecycle in your environment is essential, especially if you’re handling real money and integrating with production APIs.
3. Test and Validate Your Integration
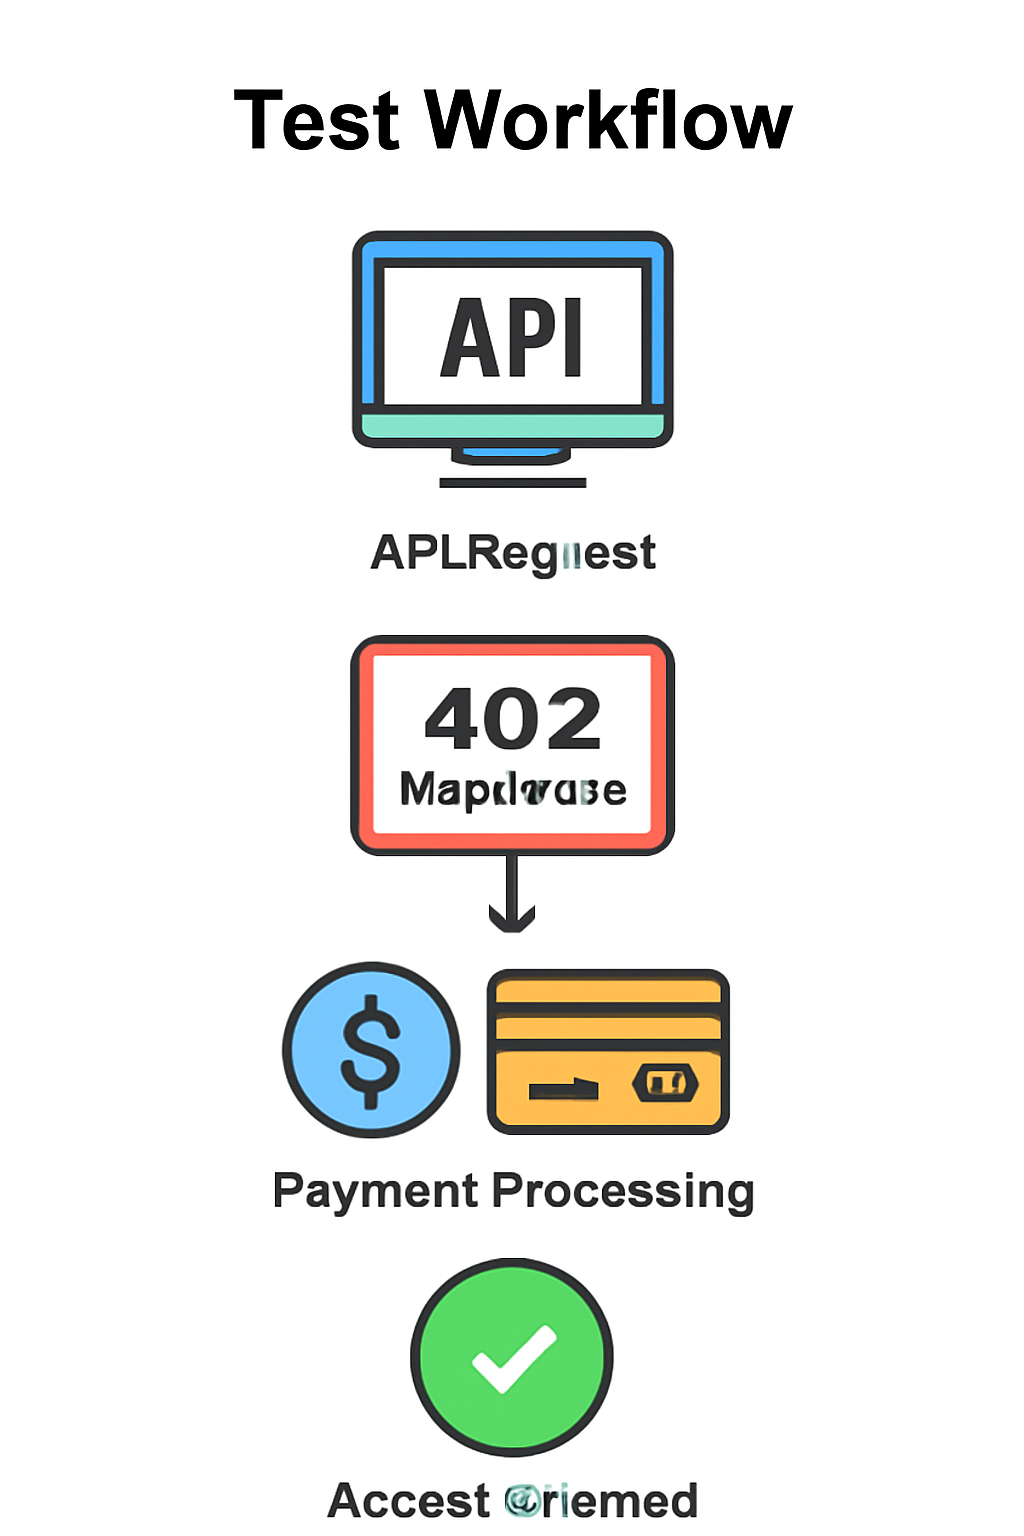
To ensure your Coinbase X402 integration functions as intended, simulate a complete checkout:
- Initiate an API request to an endpoint requiring payment.
- Confirm that your service responds with HTTP 402 Payment Required.
- Use your wallet client to complete the payment (typically in USDC).
- Retry the original request, now attaching proof of payment.
- Verify that access is granted and the transaction is logged for auditing.
This round-trip validates both client- and server-side logic. For step-by-step walkthroughs tailored to different stacks, consult Coinbase’s official Quickstart for Sellers or Quickstart for Buyers.
Key Benefits of Coinbase x402 for Global Crypto Checkout
- Instant, Low-Fee Stablecoin Payments: x402 enables real-time transactions using stablecoins like USDC, minimizing settlement delays and reducing transaction costs compared to traditional payment rails.

- Seamless API & AI Integration: The protocol is designed for easy integration with APIs and AI agents, allowing autonomous services to trigger and verify payments without manual intervention.

- Global Reach Without Borders: x402 leverages blockchain technology to support cross-border payments without the friction of currency conversions or regional restrictions.

- No Need for Custom Blockchain Infrastructure: Sellers can offload payment verification and settlement to the x402 Facilitator, eliminating the need to maintain their own blockchain nodes or infrastructure.

- Open Standard Leveraging HTTP 402: By utilizing the existing HTTP 402 'Payment Required' status code, x402 fits naturally into web architectures, enabling straightforward implementation for developers.
- Chain-Agnostic Protocol: x402 is designed to be compatible across multiple blockchain networks, providing flexibility and future-proofing for evolving crypto ecosystems.

Security and amp; Best Practices: Safeguarding Crypto Payment Intents
Security is non-negotiable in crypto payments. Store all API keys and wallet secrets as environment variables, never hard-code them. Limit access using principle of least privilege, and rotate credentials regularly. Monitor all payment activity via the Coinbase Developer Platform dashboard to quickly detect anomalies or unauthorized attempts.
The x402 Facilitator abstracts away blockchain complexity but does not absolve you from operational diligence. Consider implementing rate limits on endpoints requiring payments and logging all payment events with timestamps and client metadata for compliance review.
Scaling Up: From MVP to Production-Ready Crypto Checkout
The real power of x402 comes into focus at scale. Once your integration passes initial QA, you can onboard users globally without worrying about regional banking limitations or volatile fees. Stablecoins like USDC ensure predictable settlement costs, no surprise chargebacks or international wire delays.
If you’re monetizing APIs or digital content, consider dynamic pricing based on usage or time-of-day by programmatically adjusting required payments before issuing a 402 response. For more advanced use cases, such as video paywalls, SaaS metering, or AI agent billing, the protocol’s flexibility enables new business models previously impractical with fiat rails.
Why It Matters: The Future of Borderless Payments Is Here
The economics are compelling: with x402 Payment Intents, fees are minimized and settlement times are measured in seconds rather than days. You can serve a global user base without localizing payments per country or region, just plug into a single standard using HTTP and stablecoins.
If you want to future-proof your platform for borderless commerce, integrating Coinbase X402 isn’t just an upgrade, it’s a paradigm shift toward truly internet-native value exchange.


No comments yet. Be the first to share your thoughts!