
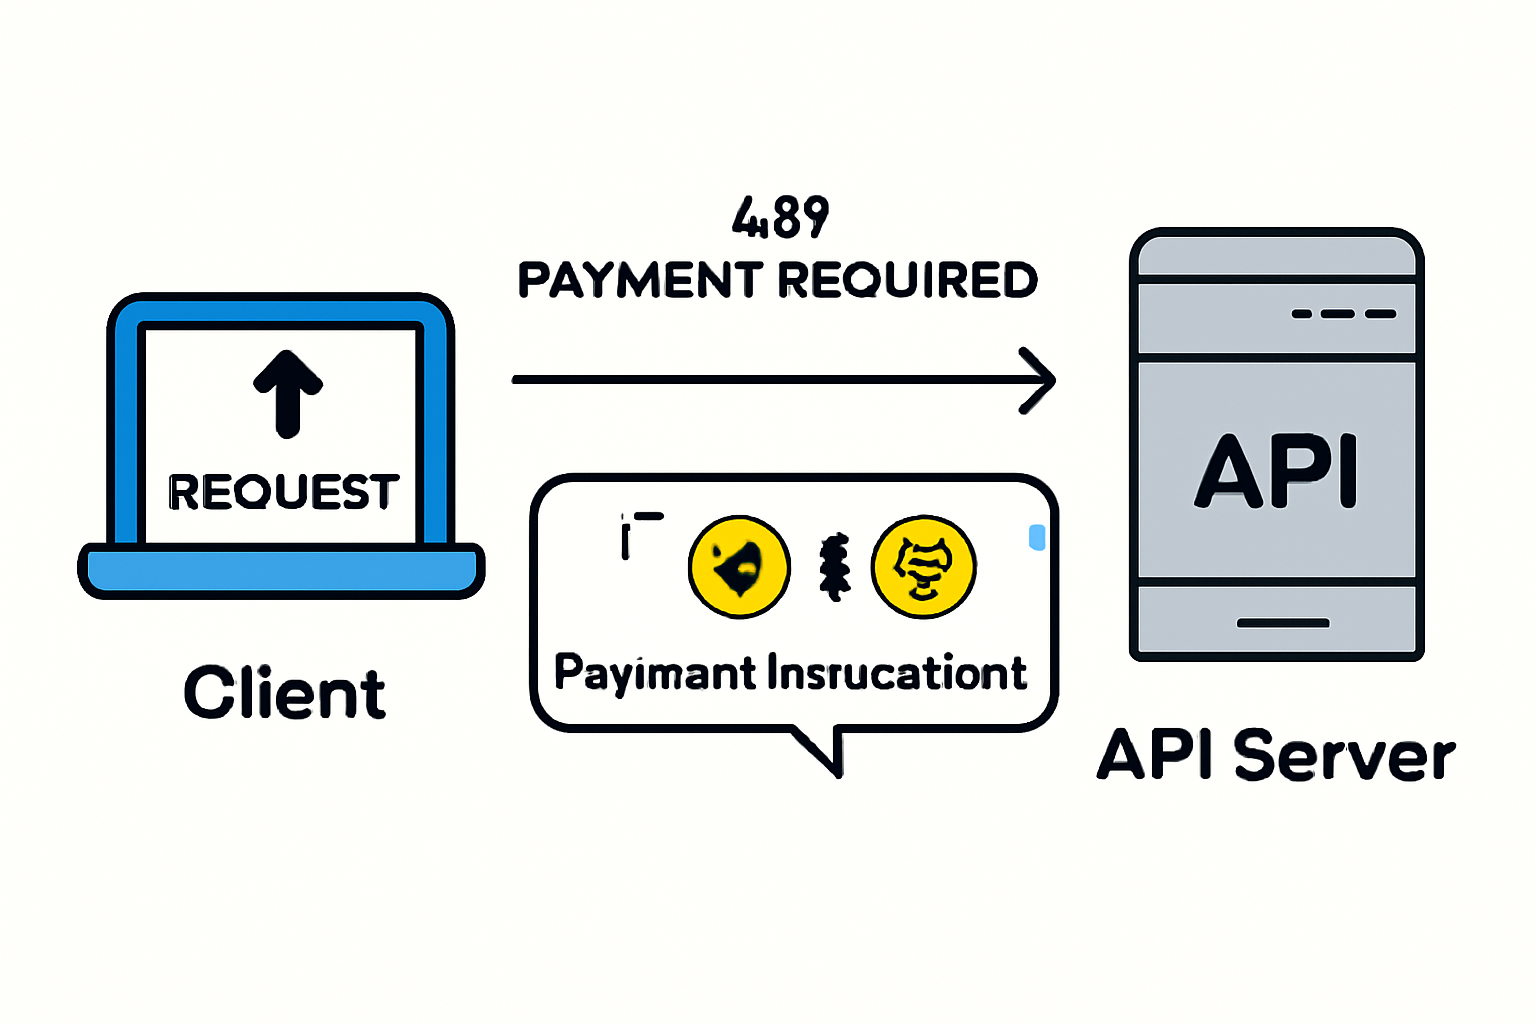
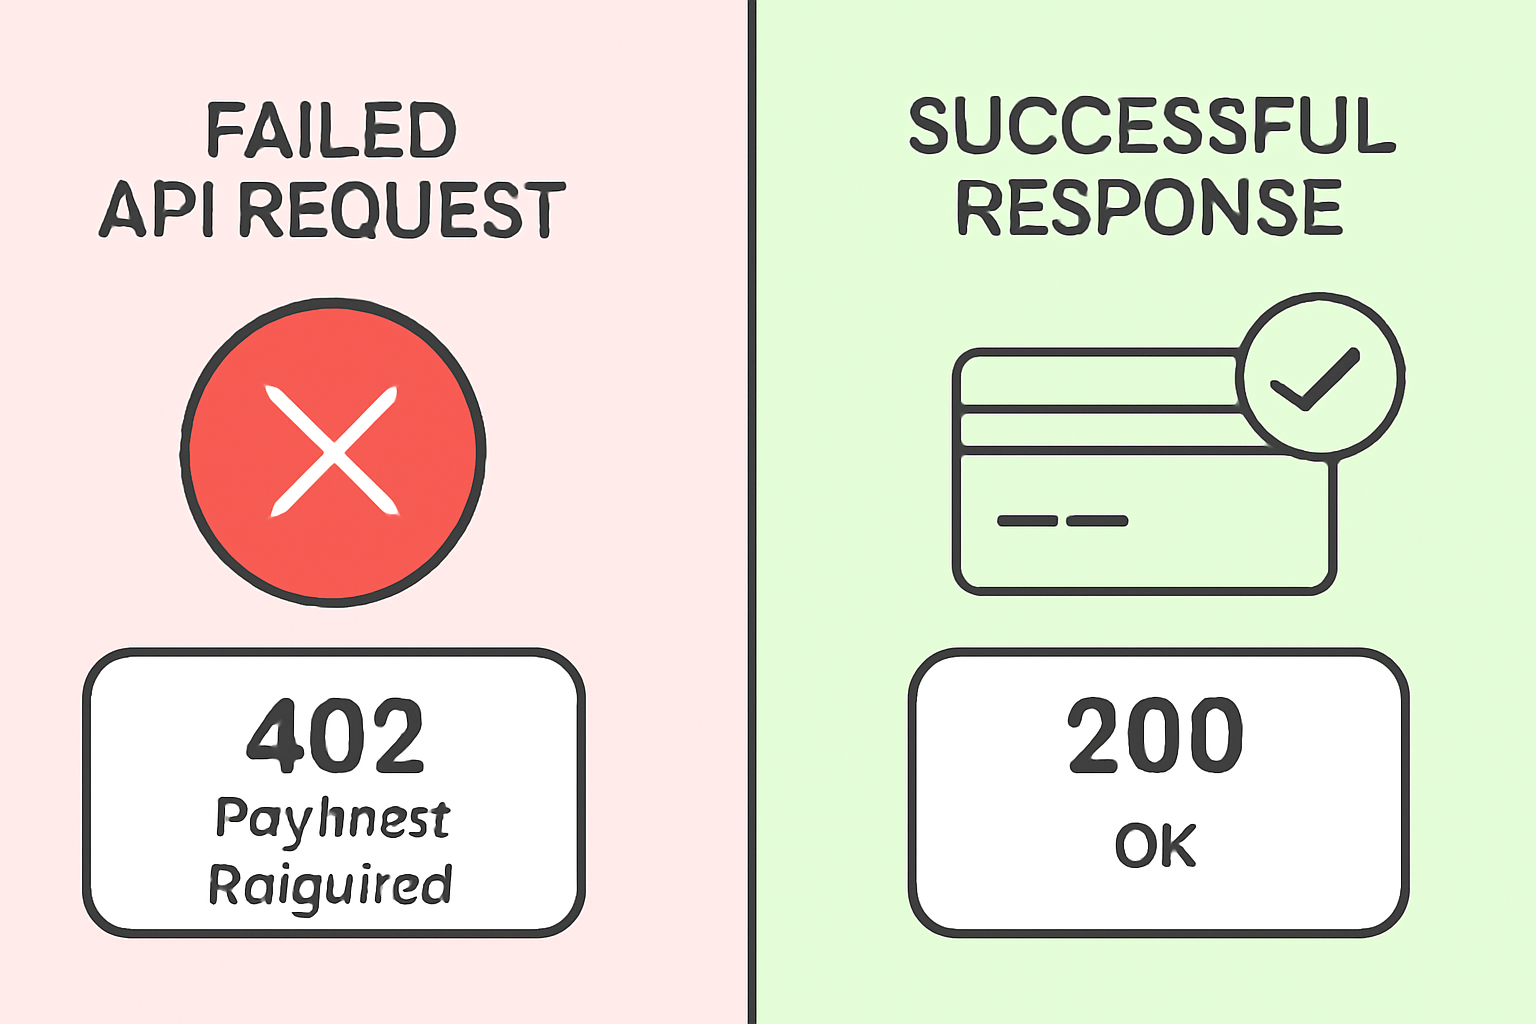
For API developers and businesses seeking efficient, real-time monetization, X402 Payment Intents integration offers a compelling solution. By leveraging the HTTP 402 Payment Required status code, X402 enables seamless pay-as-you-go API payments, unlocking new revenue streams with crypto micropayments. This guide unpacks how to set up X402 for API monetization, focusing on practical steps and real-world considerations for both server and client integration.
Why Monetize APIs with the HTTP 402 Payment Protocol?
The digital economy is rapidly shifting toward usage-based pricing, especially for high-value data or compute-intensive endpoints. Traditional subscription models often lead to over- or under-charging users. The X402 protocol revives the HTTP 402 status code, enabling precise, per-request billing that is both transparent and automated. This is particularly powerful for decentralized applications, AI agents, and machine-to-machine transactions that require trustless, on-chain settlement.
Stablecoins like USDC are supported natively by X402, ensuring price stability and global accessibility for your pay-as-you-go API payments. By integrating X402, you not only secure revenue but also open your service to a broader, crypto-native audience.
Setting Up Your Server for X402 API Monetization
Let’s walk through the core steps for integrating X402 Payment Intents on your backend. For most modern web APIs, Node. js with Express is a popular stack. The following example demonstrates how to protect an endpoint using the official x402-express middleware:
Integrating x402-express Middleware in an Express API
To integrate X402 Payment Intents into your Node.js/Express API, you can use the `x402-express` middleware to protect specific endpoints. Here’s a sample implementation for a paid endpoint:
const express = require('express');
const x402 = require('x402-express');

const app = express();

// Configure the x402-express middleware with your API key and pricing
app.use(
  '/api/paid-endpoint',
  x402({
    apiKey: process.env.X402_API_KEY,
    price: 100, // Price in cents per request
    currency: 'usd',
    // Optionally, add more configuration here
  })
);

app.get('/api/paid-endpoint', (req, res) => {
  // This endpoint is now protected by x402 payment intents
  res.json({ message: 'You have accessed a paid API endpoint!' });
});

app.listen(3000, () => {
  console.log('Server running on http://localhost:3000');
});
This setup ensures that any request to `/api/paid-endpoint` will require a valid payment intent, enabling seamless pay-as-you-go monetization for your API.
Here’s what’s happening in the code:
- Dependencies: Install
x402-expressand@coinbase/x402via npm. - Middleware Configuration: Attach the payment middleware to your Express app, specifying your receiving wallet address and the price per request. In this example, access to
/your-endpointis priced at $0.001 per call on the base-sepolia network. - Facilitator URL: Set the facilitator URL (e. g. ,
https://x402.org/facilitator) which mediates the payment process and verification. - Protected Endpoint: The endpoint only returns data after successful payment verification.
This approach ensures that only paid requests are processed, enabling true pay-per-use access. For more details on getting started with sellers’ integration, refer to the official x402 quickstart guide.
Handling Payments on the Client Side
On the consumer side, clients must be able to interpret 402 responses and fulfill payment instructions before retrying their request. The x402-axios package streamlines this process for JavaScript applications by intercepting 402 responses and automating payment flows. Here’s a typical usage pattern:
Intercepting 402 Responses and Handling Payment with x402-axios
To handle pay-as-you-go API monetization with X402, you can use the `x402-axios` library to intercept HTTP 402 responses and trigger payment flows automatically. Below is an example of how to set up an Axios interceptor to manage this process:
import axios from 'axios';
import { handleX402Payment } from 'x402-axios';

// Create an Axios instance
const api = axios.create({
  baseURL: 'https://api.example.com',
});

// Add a response interceptor to handle 402 responses
api.interceptors.response.use(
  response => response, // Pass through successful responses
  async error => {
    if (error.response && error.response.status === 402) {
      // Handle payment process when a 402 response is received
      const paymentResult = await handleX402Payment(error.response);
      if (paymentResult.success) {
        // Retry the original request after successful payment
        return api.request(error.config);
      } else {
        // Payment failed or was cancelled
        return Promise.reject(new Error('Payment required and not completed.'));
      }
    }
    // For other errors, just reject
    return Promise.reject(error);
  }
);

// Example API call
async function fetchProtectedData() {
  try {
    const response = await api.get('/protected-resource');
    console.log('Data:', response.data);
  } catch (err) {
    console.error('API error:', err.message);
  }
}

fetchProtectedData();
This approach ensures that whenever your API call receives a 402 Payment Required response, the payment flow is initiated seamlessly, and the original request is retried upon successful payment.
This workflow allows clients, whether browsers, bots, or autonomous agents, to interact with X402-protected APIs without manual intervention. As a result, you can build robust crypto micropayments API experiences that scale across user types and platforms.
Testing and Verifying Your Integration
After setting up both server and client components, it’s essential to thoroughly test your integration:
- Request Verification: Ensure your server returns a 402 status code with payment instructions on unpaid requests.
- Payment Flow: Confirm that your client processes the payment according to the received instructions.
- Access Confirmation: Once payment is verified, the server should grant access to the protected resource.
This iterative process guarantees a seamless user experience and secure revenue capture. For a deeper dive into building autonomous payment agents or advanced API monetization strategies using X402, explore the X402 protocol documentation.
Security and compliance are paramount when integrating X402 Payment Intents for pay-as-you-go API monetization. Every transaction, no matter how small, must be validated on-chain and adhere to the best practices for wallet management. Most integrators choose stablecoins like USDC for predictable pricing, but any ERC-20 token with the transferWithAuthorization method can be supported. This flexibility allows businesses to tailor their monetization models to their user base and operational needs.
Best Practices for Deployment and Scaling
As your API gains traction, consider how you’ll handle increased request volume and payment verification. X402 is designed for efficiency, but scaling to thousands of microtransactions per hour may require:
- Load Balancing: Distribute payment verification across multiple backend nodes to prevent bottlenecks.
- Transaction Monitoring: Use analytics tools to track payment success rates and identify potential issues.
- Wallet Security: Store private keys securely using dedicated vaults or hardware modules, minimizing exposure to risk.
- Network Selection: For lower fees, consider deploying on testnets like base-sepolia before moving to mainnet for production.
For a step-by-step walkthrough of deploying your first pay-per-use API with X402, see the guide below:
Launch & Test a Pay-As-You-Go API with X402 Payment Intents
Expanding Monetization Beyond APIs
The utility of X402 isn’t limited to API endpoints. You can apply the same HTTP 402 payment protocol to digital content, SaaS features, or even autonomous agent workflows. For instance, integrating X402 with AI chat agents via protocols like XMTP enables bots to negotiate and settle payments for API calls or digital goods on the fly. This unlocks new business models where both human and machine clients can transact programmatically, broadening your audience and increasing revenue potential.
To see this concept in action, check out this video demonstration:
Frequently Asked Questions
For more advanced use cases, such as accepting multiple token types or building fully autonomous payment agents, refer to the latest integrations with Circle Wallets or see how developers are leveraging X402 in hackathons on the official guide.
Ultimately, integrating X402 Payment Intents into your monetization stack gives you granular control over access, pricing, and revenue, all with the transparency and automation of on-chain settlement. As the digital economy evolves, API monetization strategies that embrace real-time crypto micropayments will be best positioned to capture new growth opportunities.


No comments yet. Be the first to share your thoughts!