
Integrating X402 Payment Intents with Coinbase Base is quickly becoming the new standard for developers and businesses seeking frictionless, programmable crypto payments. With X402, Coinbase has introduced an open payment protocol that enables instant, automatic stablecoin transactions directly over HTTP, removing the need for traditional API keys or subscriptions. This approach is chain-agnostic and leverages the familiar 402 Payment Required HTTP status code, unlocking seamless monetization for web3 services, APIs, and autonomous agents.

Why Choose X402 Payment Intents on Coinbase Base?
The combination of X402 and Coinbase Base delivers a robust foundation for next-generation payment flows. X402 is engineered for scale and security, supporting use cases ranging from pay-per-use APIs to AI agent transactions. By integrating with Coinbase Base, a fast, low-cost Ethereum Layer 2, you benefit from:
- Instant stablecoin settlements, minimizing volatility risk
- Automatic payment verification via HTTP headers
- Chain-agnostic support, enabling future-proof integrations
- No reliance on legacy subscriptions or manual invoicing
- Developer-friendly middleware and facilitator APIs
This architecture empowers both human users and autonomous agents to transact seamlessly, whether you’re building decentralized applications or modern e-commerce platforms.
Prerequisites: What You Need Before You Start
A successful integration starts with preparation. Here’s what you’ll need before implementing X402 Payment Intents:
- EVM-compatible crypto wallet: For example, a CDP Wallet to receive funds securely.
- A Coinbase Developer Platform (CDP) account: This is essential to obtain API keys for mainnet operations.
- Your development environment ready: Node. js and npm should be installed.
- An existing API or server application: Integration works best when you already have endpoints to protect or monetize.
If you’re new to these requirements or want a more detailed walkthrough, see our related guide on integrating X402 with HTTP Payment Protocol.
The Integration Process: Setting Up Your Middleware with Real-Time Pricing
The actual integration process is designed for efficiency. The official packages provides x402-express and @coinbase/x402: streamline the addition of payment logic into your Express. js applications. Here’s how you get started:
- Install Dependencies:
Install Required Packages
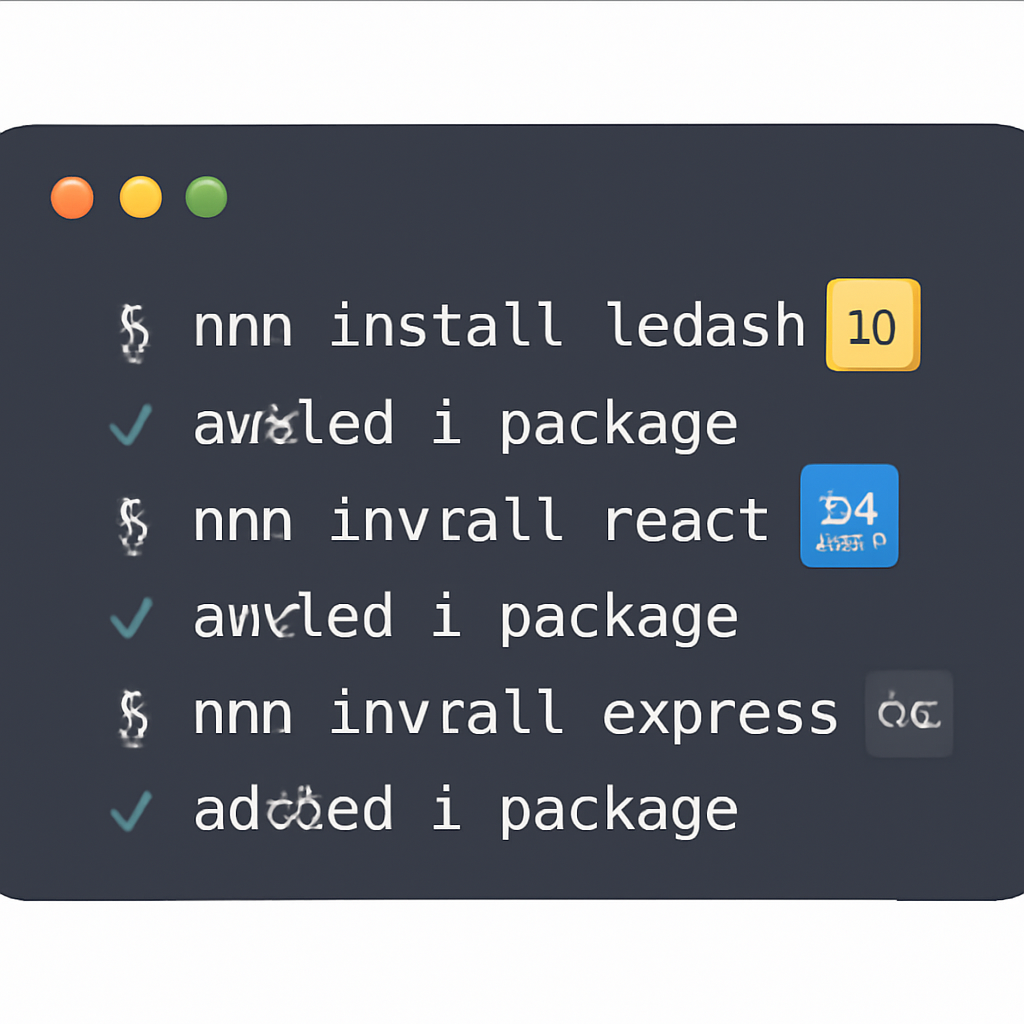
To get started, you need to install the required npm packages for integrating X402 Payment Intents with Coinbase Base. Run the following command in your project directory:
npm install x402-express @coinbase/x402This will add both `x402-express` and `@coinbase/x402` to your project's dependencies, enabling you to use their APIs in your Node.js application.
- Add Payment Middleware:
Express.js Middleware Integration Example
To integrate X402 Payment Intents with Coinbase Base in your Express.js application, set up the middleware as shown below. This example demonstrates how to initialize the X402 client and attach the x402-express middleware to your payment route.
const express = require('express');
const { x402ExpressMiddleware } = require('x402-express');
const { X402Client } = require('@coinbase/x402');

// Initialize the X402 client with your Coinbase Base API credentials
const x402Client = new X402Client({
  apiKey: process.env.X402_API_KEY,
  apiSecret: process.env.X402_API_SECRET,
  environment: 'production', // or 'sandbox' for testing
});

const app = express();

// Attach the x402-express middleware to handle payment intents
app.use('/api/payments', x402ExpressMiddleware({
  x402Client,
  // Optionally, configure other middleware options here
}));

app.listen(3000, () => {
  console.log('Server running on port 3000');
});
With this setup, your Express.js API is ready to handle crypto payments using X402 Payment Intents on Coinbase Base. Adjust the configuration as needed for your environment and business logic.
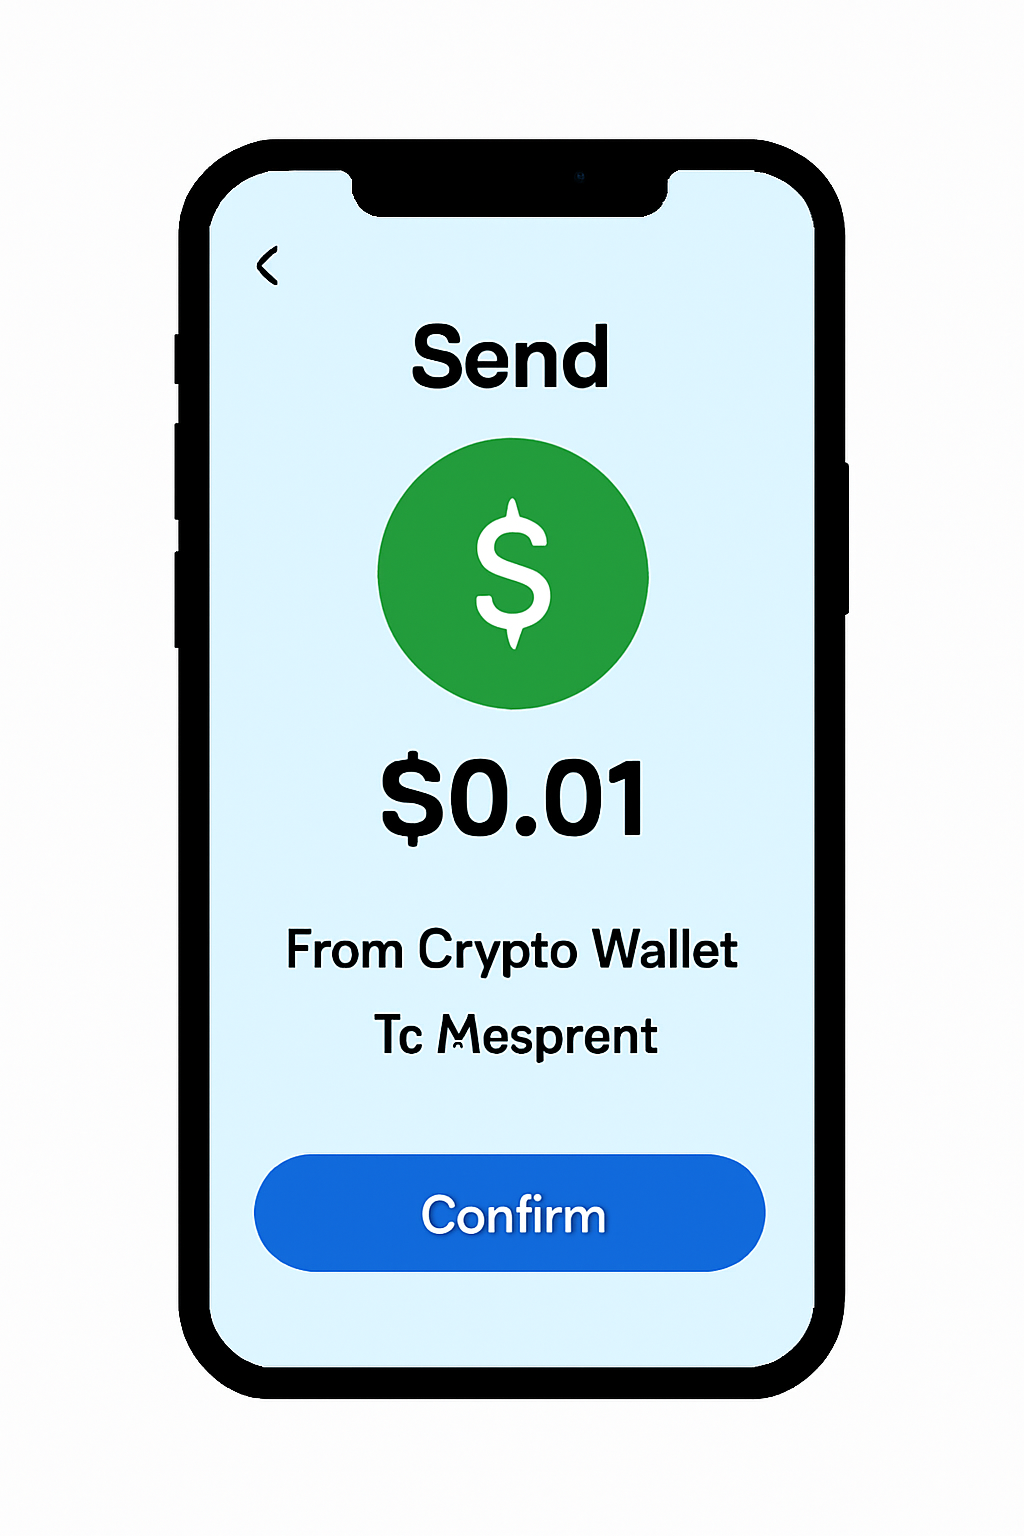
You’ll specify your facilitator URL (for production use Coinbase’s mainnet facilitator; for testing use the Sepolia testnet), define which routes require payment (such as /api/premium) and at what price (e. g. , “$0.01” per request), plus provide your receiving wallet address. This structure ensures every premium endpoint is protected by a real-time paywall enforced at the protocol level.
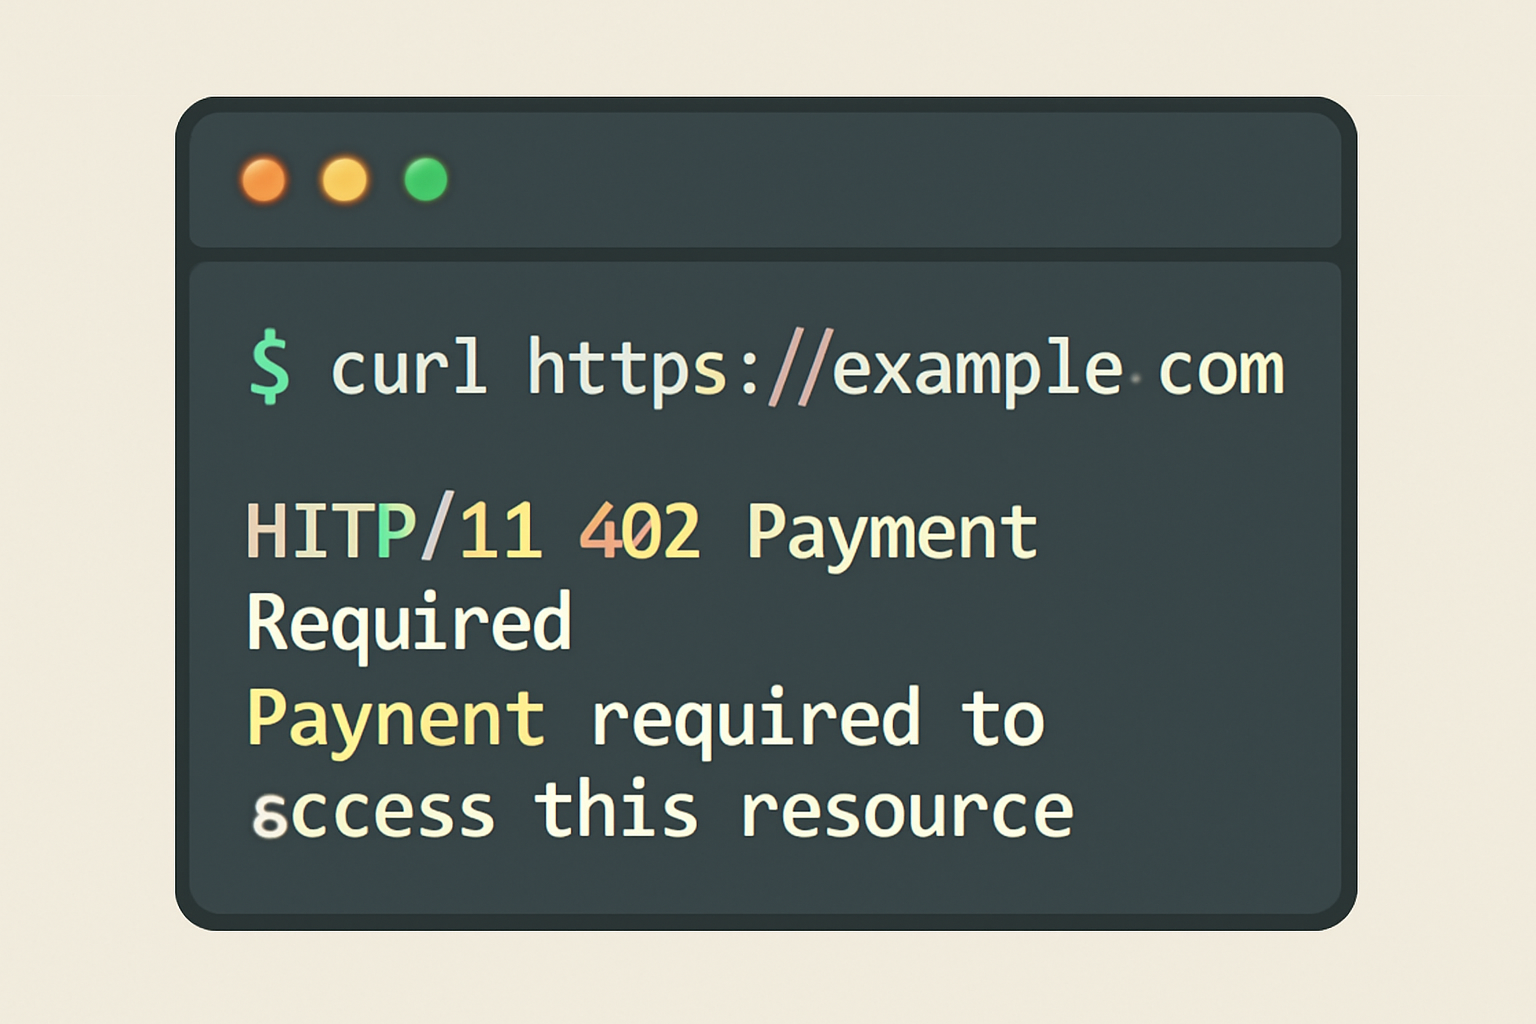
The server will automatically respond to non-paying requests with a 402 status code that includes clear payment instructions in the response headers, a major usability improvement over legacy crypto paywalls.
Once your middleware is configured, you’re ready to test the integration. The X402 protocol’s design ensures that the payment flow is transparent and secure: users or agents attempting to access protected endpoints will receive a 402 Payment Required response, along with precise instructions for submitting payment via stablecoins on Coinbase Base. After payment is completed, clients simply retry their request with a cryptographic proof in the X-PAYMENT header, granting immediate access if the payment is verified.
Test X402 Payment-Protected API Endpoints: Buyer & Seller Perspectives


Streamlining Crypto Payments for Developers and Businesses
The X402 Payment Intents integration is not just about technical efficiency, it’s about unlocking new business models. By leveraging HTTP-native payments, you can implement:
- Pay-per-use APIs: Monetize data endpoints without user registration or manual invoicing.
- AI agent transactions: Enable bots and autonomous services to pay for microservices programmatically.
- On-demand e-commerce features: Offer premium digital content or compute resources gated by instant crypto payments.
This flexibility makes X402 especially attractive for modern web3 projects seeking low-friction, global monetization strategies. For an in-depth look at integrating X402 into decentralized apps, see our related walkthrough on decentralized application integration.
Security and Compliance Considerations
Security remains paramount when handling crypto payments. The X402 protocol leverages Coinbase’s infrastructure for robust settlement and verification, minimizing risks associated with direct wallet interactions. Always ensure your facilitator endpoints are correctly configured and monitor transactions on Base using block explorers for transparency.
For compliance, remember that even though stablecoins reduce volatility risk, you should remain up-to-date with local regulations regarding crypto transactions, especially if operating at scale or across multiple jurisdictions.
Expanding Your Use Case: Beyond Basic Payments
The modularity of X402 means you’re not limited to simple paywalls. Advanced developers can leverage facilitator APIs to build dynamic pricing models, usage-based billing, or even integrate with AI-powered agents that autonomously negotiate and settle payments over HTTP, ushering in a new era of programmable commerce.
If you’re ready to extend your implementation further, explore advanced guides such as seamless crypto checkout integrations or learn how to accept payments via HTTP APIs in our comprehensive developer’s guide (read more here).
X402 Payment Intents on Coinbase Base delivers a disciplined framework for secure, scalable crypto monetization, whether you’re building the next big SaaS platform or enabling AI-driven commerce. As adoption accelerates across web3 and e-commerce landscapes, now is the time to standardize your payment flows using this modern protocol.


No comments yet. Be the first to share your thoughts!