
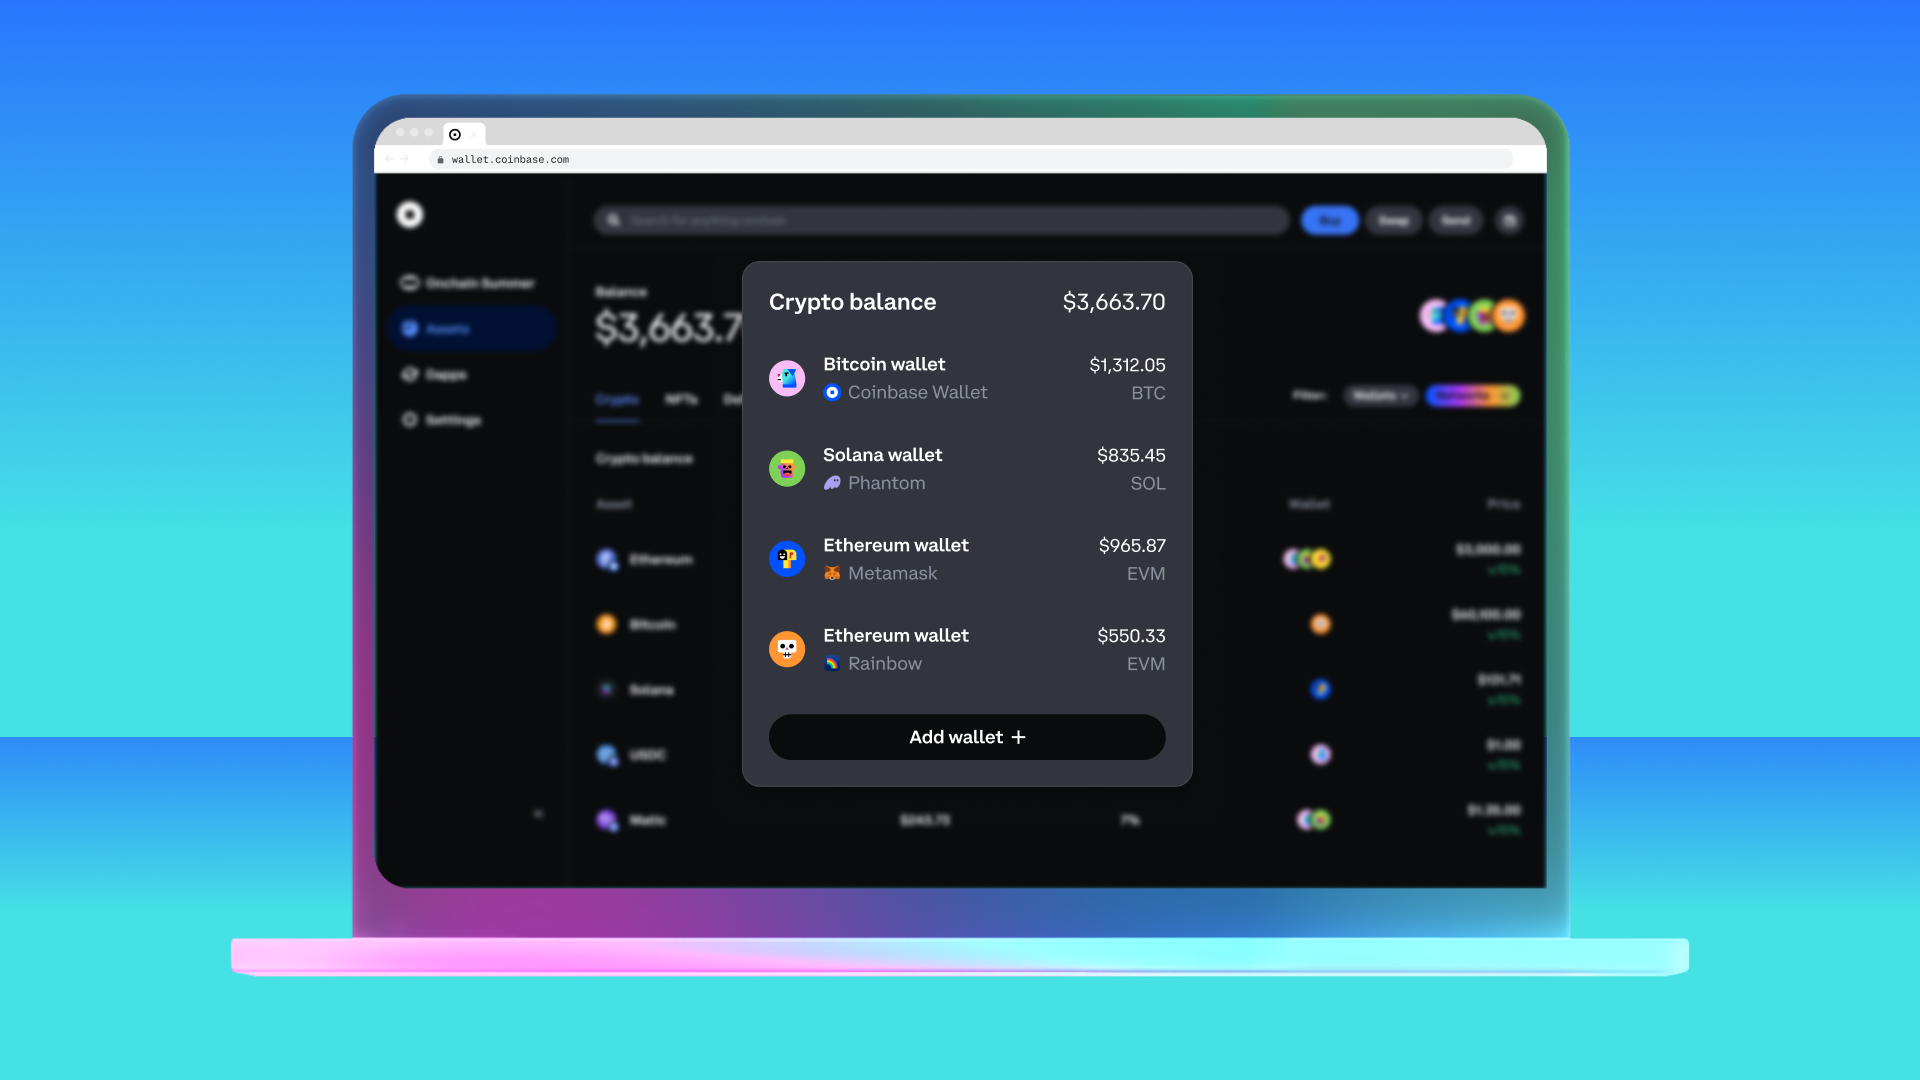
Integrating seamless crypto checkout is rapidly becoming a competitive necessity for developers and businesses targeting digital-native audiences. The HTTP Payment Protocol, specifically Coinbase’s innovative x402 standard, is at the forefront of this evolution, enabling instant, automated stablecoin payments directly over HTTP. By activating the dormant HTTP 402 'Payment Required' status code, x402 streamlines the process of accepting cryptocurrency payments for APIs, SaaS platforms, AI agents, and e-commerce stores. In this article, we’ll break down how to implement a secure and efficient crypto payment gateway using x402 and Coinbase’s facilitator service.
Why Choose x402? Quantitative Advantages for Crypto Checkout Integration
The legacy approach to online payments often involves multiple intermediaries, high fees, and settlement delays. In contrast, x402 leverages USDC stablecoin payments that settle instantly on-chain via HTTP requests. This is particularly advantageous for micropayments and pay-per-use models where traditional rails fall short due to minimum fee thresholds or latency.
Key quantitative benefits include:
- Instant settlement: Payments are verified and settled in real-time via the Coinbase facilitator.
- Reduced friction: No need for third-party payment gateways or complex SDKs; integration is middleware-driven.
- Chain-agnostic support: Works across EVM-compatible chains (e. g. , Base Sepolia testnet) with minimal configuration.
- Native developer experience: Utilizes familiar HTTP request/response patterns with clear status signaling (HTTP 402).
This protocol is already being adopted by innovators building paywalls for video streaming, APIs, and AI agents. For a technical deep dive from Coinbase’s engineering team, see their developer documentation on x402.
The Core Workflow: How x402 Crypto Checkout Works Under the Hood
The x402 protocol introduces a deterministic workflow that both buyers and sellers can trust. Here’s how a typical transaction unfolds:
- A client requests access to a protected resource (e. g. , premium API endpoint).
- The server responds with an HTTP 402 status code plus payment instructions (amount in USDC, destination wallet address).
- The client initiates payment using an EVM-compatible wallet or automated agent.
- The client resends the request including an
X-PAYMENTheader containing proof of payment. - The server verifies settlement via the Coinbase facilitator service and grants access if successful.
This architecture ensures atomicity: either the payment is confirmed and access is granted instantly or no funds are transferred. The process is transparent to both parties without manual intervention or reconciliation delays.
Step-by-Step Integration Guide: Setting Up Your Crypto Payment Gateway
If you’re ready to accept crypto on your online store or protect API endpoints with pay-per-use billing, follow these steps for integrating x402 into your Express. js application:
Install and Configure x402 Express Middleware for Crypto Checkout


Prerequisites:
- EVM-compatible crypto wallet (for receiving funds)
- API keys from the Coinbase Developer Platform
- An existing Node. js/Express. js backend
- (Optional) Access to Base Sepolia testnet for sandbox testing
Install Dependencies:
Install Required Packages
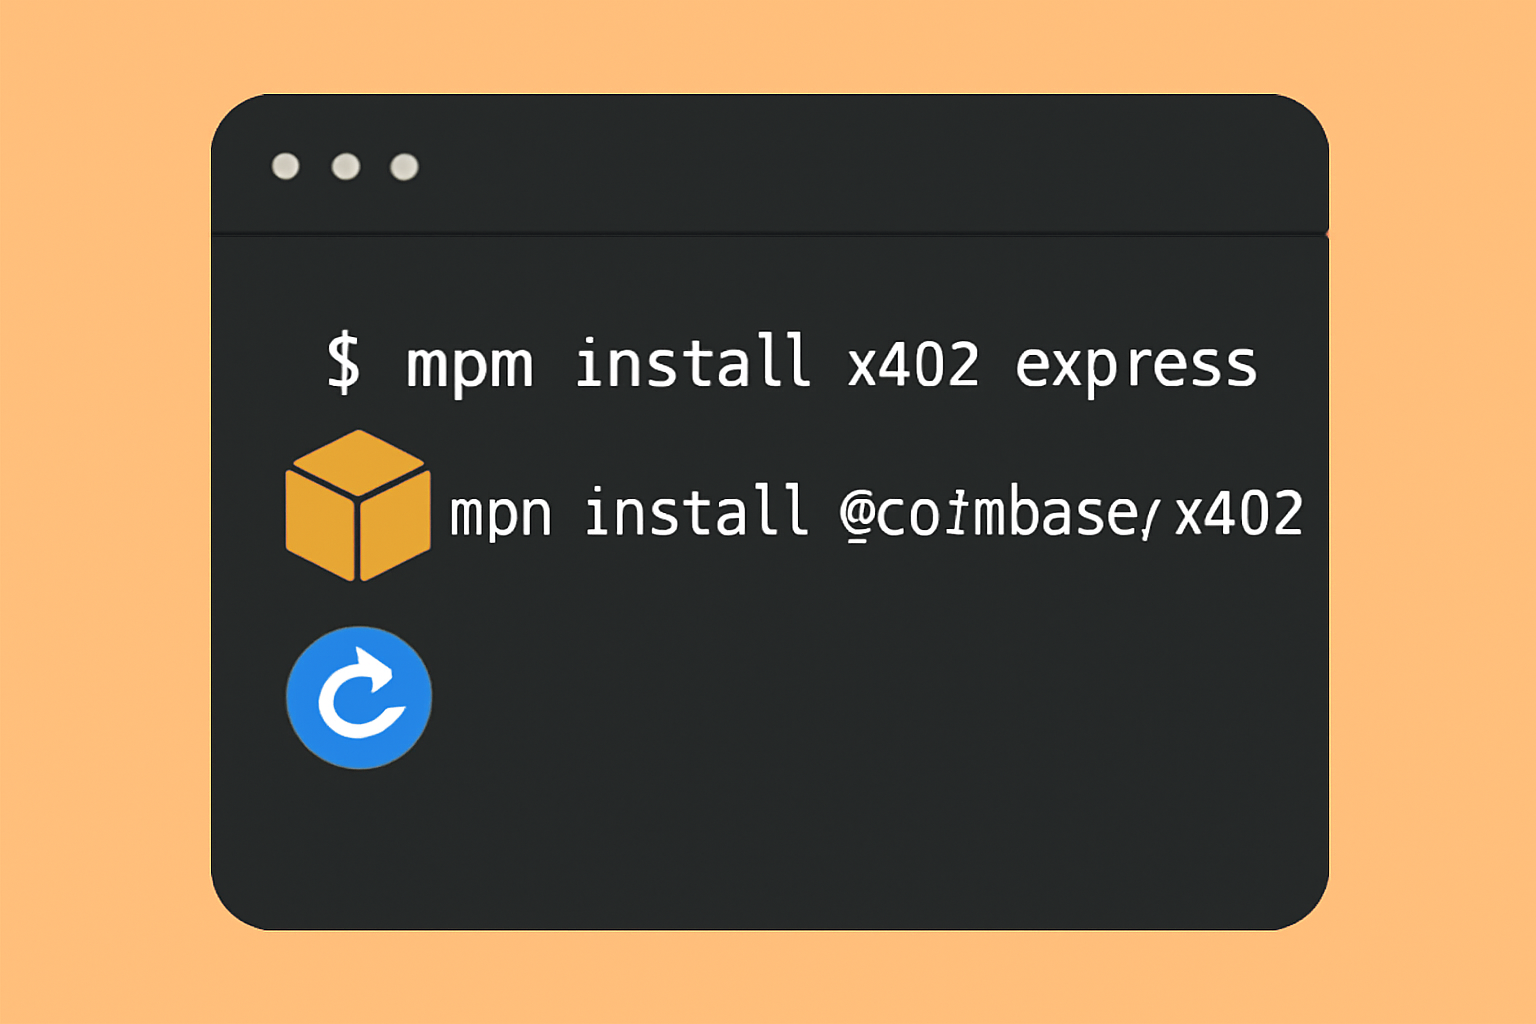
To begin integrating the HTTP Payment Protocol with Coinbase X402, you need to install the required npm packages. Run the following command in your project directory:
npm install x402-express @coinbase/x402This command installs both the Express middleware (`x402-express`) and the core X402 library (`@coinbase/x402`), ensuring you have all necessary dependencies for seamless crypto checkout integration.
Add Middleware and Configure Pricing:
Applying the Payment Middleware in Express
To integrate the payment middleware into your Express application, apply it to the desired route(s) as shown below. This ensures that any requests to the `/checkout` endpoint will be processed through your crypto payment logic.
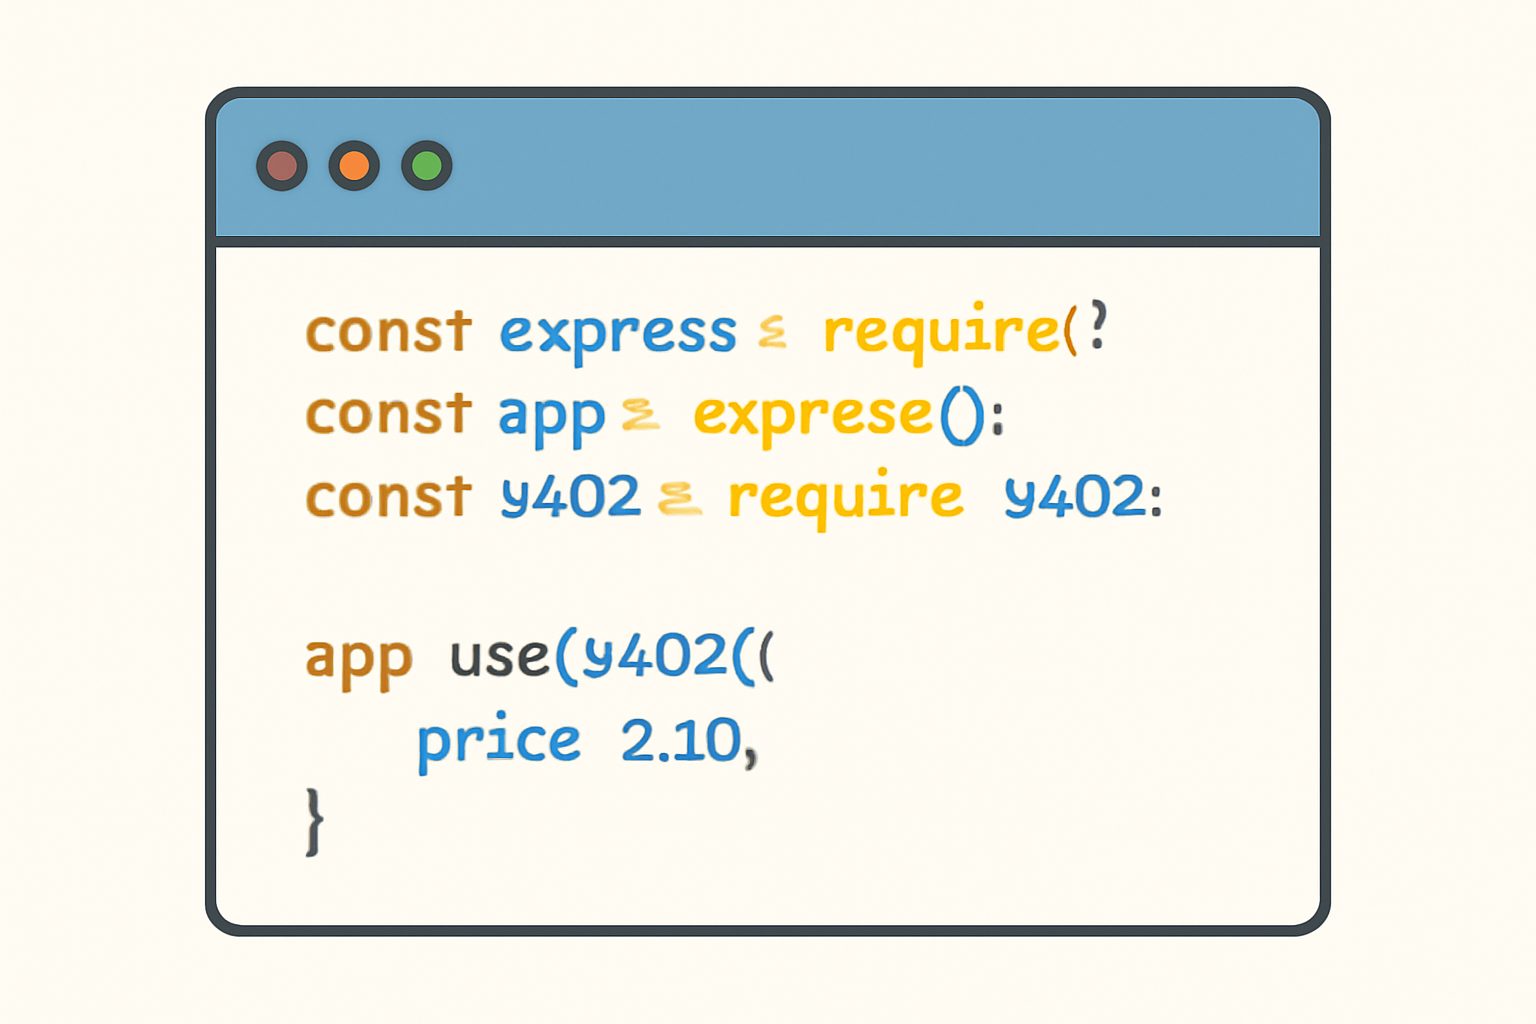
const express = require('express');
const paymentMiddleware = require('./paymentMiddleware');

const app = express();

// Apply the paymentMiddleware to all routes that require crypto checkout
app.use('/checkout', paymentMiddleware);

app.get('/checkout', (req, res) => {
  res.send('Proceed with your crypto payment.');
});

app.listen(3000, () => {
  console.log('Server listening on port 3000');
});
This configuration attaches the `paymentMiddleware` to the `/checkout` route, ensuring all incoming requests are handled according to your crypto payment requirements. Adjust the route and middleware as necessary for your application's structure.
With your application middleware configured, the server will automatically respond with a 402 Payment Required status when users attempt to access protected endpoints without payment. This triggers the x402 protocol’s payment negotiation, providing clear and deterministic instructions for your users or automated agents.
Testing and Verifying Secure Crypto Payments
It’s critical to verify that your crypto checkout integration is secure and user-friendly before going live. Using the Base Sepolia testnet, you can simulate transactions without risking real funds. Here’s a typical test cycle:
- Send a request to your protected endpoint (e. g. ,
/premium-api). The server returns HTTP 402 with USDC payment details. - Initiate a testnet USDC transfer from your wallet or an automated client following the provided instructions.
- Resend the request with the required
X-PAYMENTheader containing proof of payment. - The middleware verifies settlement using Coinbase’s facilitator service, then grants access if payment is confirmed.
This process is robust against replay attacks and double-spending, since each transaction is verified on-chain and tied to a specific request. For additional security best practices, consult the official Coinbase x402 documentation at coinbase.com.
Real-World Use Cases: From Paywalls to AI Agents
The flexibility of the x402 protocol allows it to support a broad range of commercial models beyond e-commerce checkouts. Developers are already leveraging x402 for:
Key Use Cases for Coinbase x402 Protocol
- API Monetization: Protect and monetize APIs by requiring instant stablecoin payments (e.g., USDC) for each request using x402 middleware, enabling true pay-per-use models without manual invoicing.
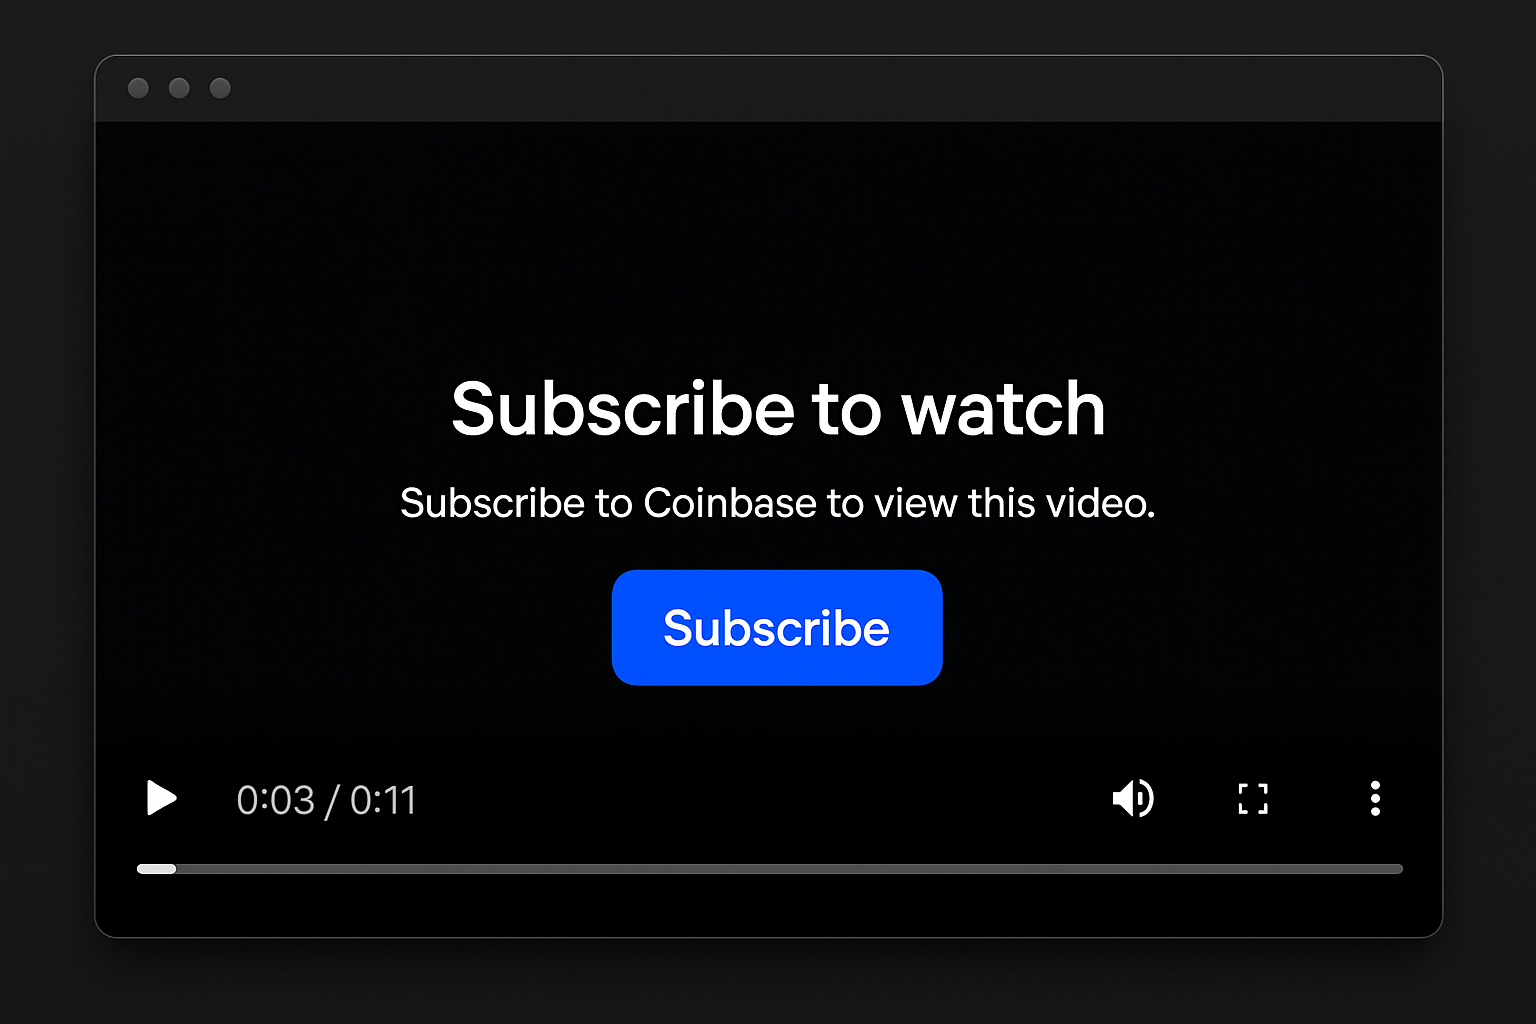
- Pay-Per-View Video Content: Implement crypto paywalls for streaming or downloadable video using x402, allowing users to unlock content with seamless, on-chain payments directly via HTTP requests.
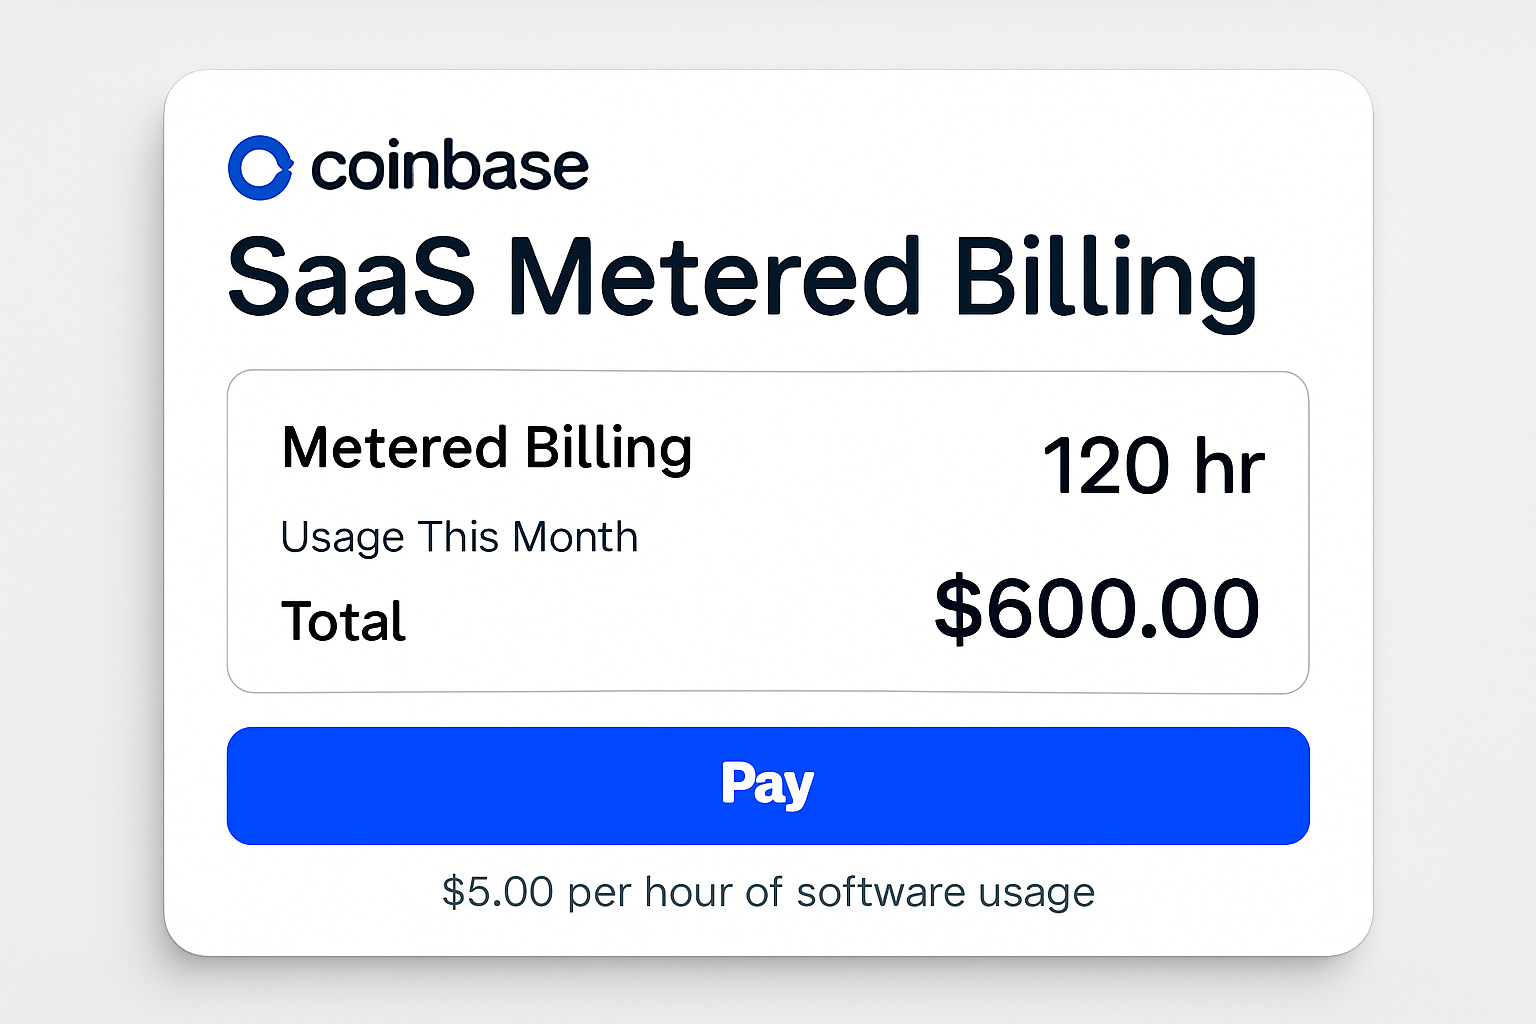
- SaaS Metered Billing: Enable granular, usage-based billing for SaaS platforms by integrating x402, automating microtransactions for features or data consumed, and reducing reliance on legacy payment processors.
- Automated AI Agent Payments: Empower AI agents and bots to autonomously transact for services or data by integrating x402, leveraging the protocol's HTTP-native, programmable payment flows for machine-to-machine commerce.

This chain-agnostic approach unlocks new business models previously hindered by high transaction fees or slow settlements. For example, microtransactions as low as $0.10 are now economically viable thanks to instant stablecoin settlement over HTTP, no third-party intermediaries required.
Optimizing User Experience for Crypto Checkout Integration
The true power of x402 lies in its ability to abstract away blockchain complexity for end users. By leveraging familiar HTTP request flows and standard headers, you can deliver a frictionless crypto checkout experience that rivals traditional card payments in speed and simplicity. Consider these UX optimizations:
- Automated Wallet Detection: Guide users to compatible wallets or browser extensions when initiating payments.
- Status Feedback: Provide real-time updates on payment verification status within your frontend UI.
- Error Handling: Clearly communicate failed or incomplete transactions so users can retry seamlessly.
The Bottom Line: Quantitative Impact of Secure Crypto Payments With x402
The introduction of Coinbase’s x402 protocol marks a significant evolution in how developers can accept crypto online. By activating HTTP 402 at the protocol level, merchants gain access to instant USDC settlement, reduced operational friction, and new revenue opportunities through micro-billing models, all using familiar web infrastructure.
If you’re looking for a scalable cryptocurrency payment API that minimizes risk while maximizing flexibility across chains and use cases, integrating x402 is a forward-looking move. As adoption accelerates across SaaS platforms, content paywalls, and AI-driven services, those who build with this open standard today will be best positioned for tomorrow’s digital economy.


No comments yet. Be the first to share your thoughts!